Tips for photographing your children in the snow
snow
We’ve just had the biggest snowfall here since about 2010. Many of the schools are closed and children up and down the country are making the most of it, out enjoying themselves sledging and building snowmen. It’s the perfect opportunity to get some lovely photos of your children and you may not get the chance again for a few more years, so whatever you do, make sure you get out there with your camera to capture some of those memories.
Taking decent photos in the snow is not all that easy though. The camera is faced with a very bright, white scene and tries to compensate, often leading to quite dull and underexposed images. Also the scene is very cold and as a result, images can look quite ‘blue’. However, there are a few things you can do which will see a vast improvement in your images. Read on to find out more…
Which camera and lens is best?
If you have a ‘proper’ camera, like a DSLR then it’s really worth getting it out as you will get much better quality images than when using your phone. However, if all you have to hand is a phone camera, then use than too. You can still have a play and try some of the suggestions below. It’s always better to have some images, than none at all so just use what you have!
If you have a choice of lenses and are not sure which one to go for, then I find a mid-range zoom lens is ideal as you can capture lots of different scenarios – including close-ups and wider scenes, without needing to change lenses (which is tricky if you have very cold hands!). I have a 24-105mm f4 lens which I often use when I’m out and about. You can also get some fantastic images using a prime lens (with a fixed focal length) such as a 35mm or 50mm lens. Although these have a fixed focal length (no zoom), they usually have a very wide aperture which is great in low light.
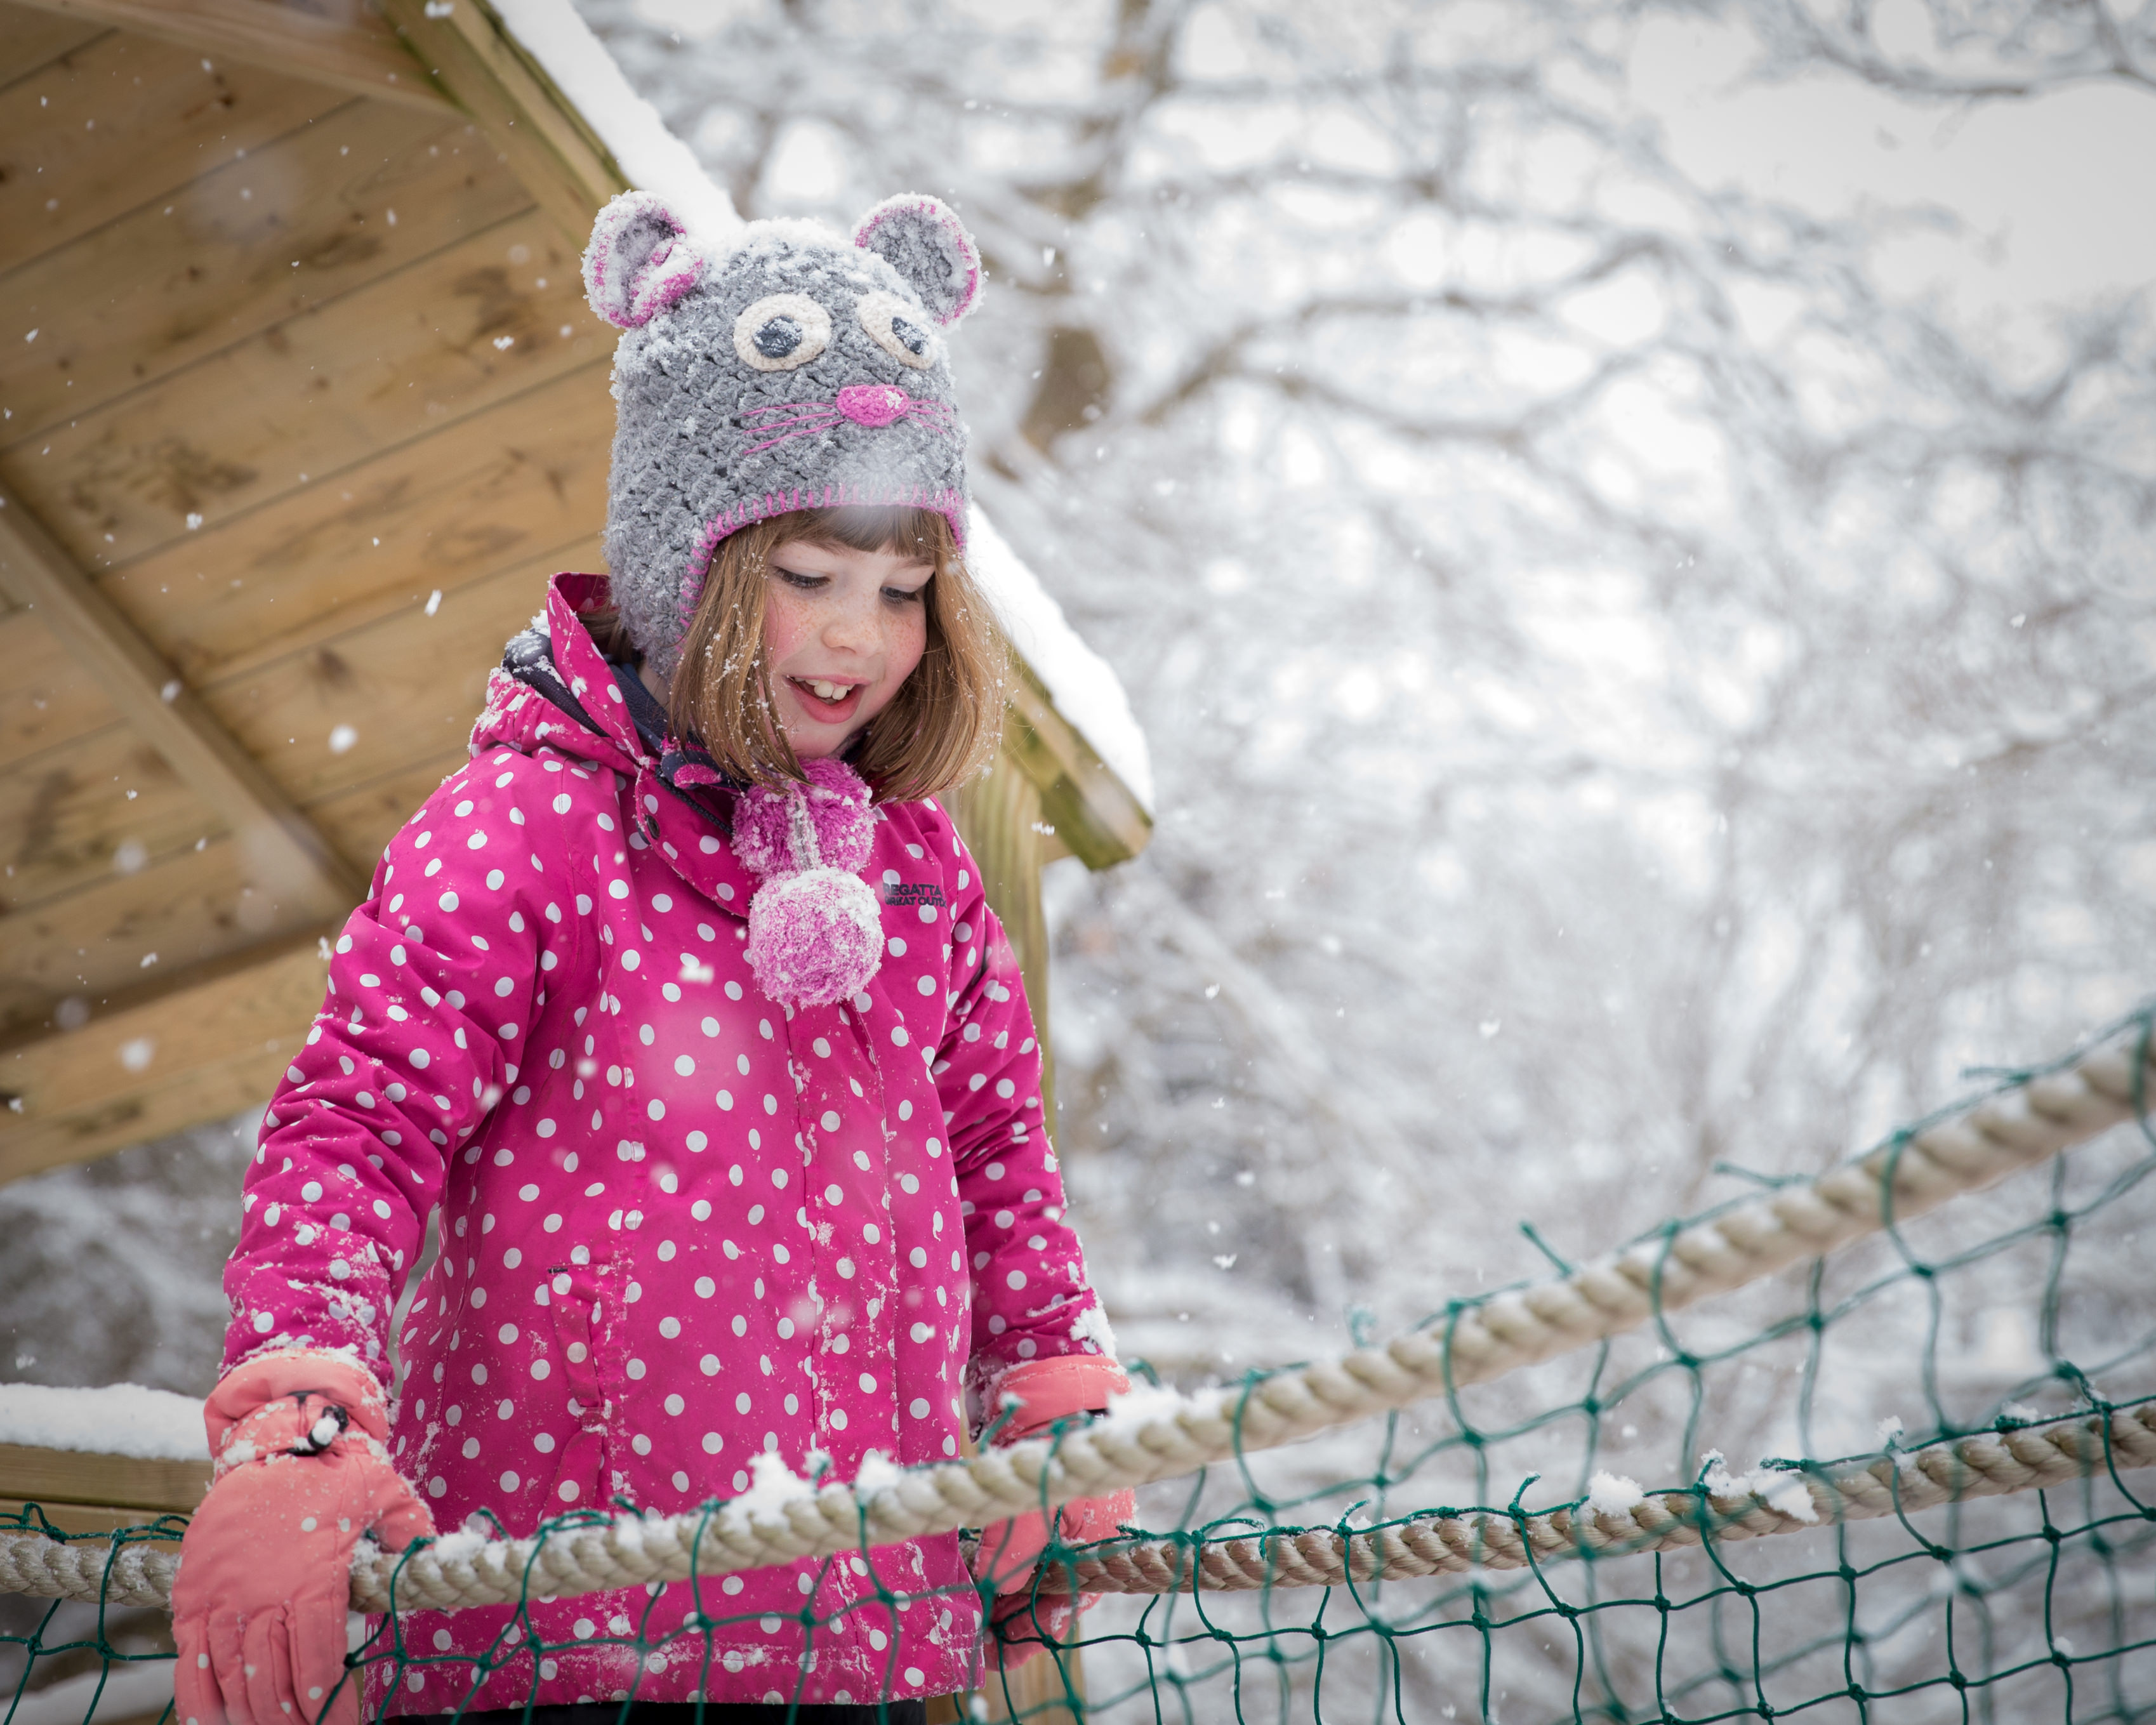
Image above taken on a 24-70mm f2.8 zoom lens
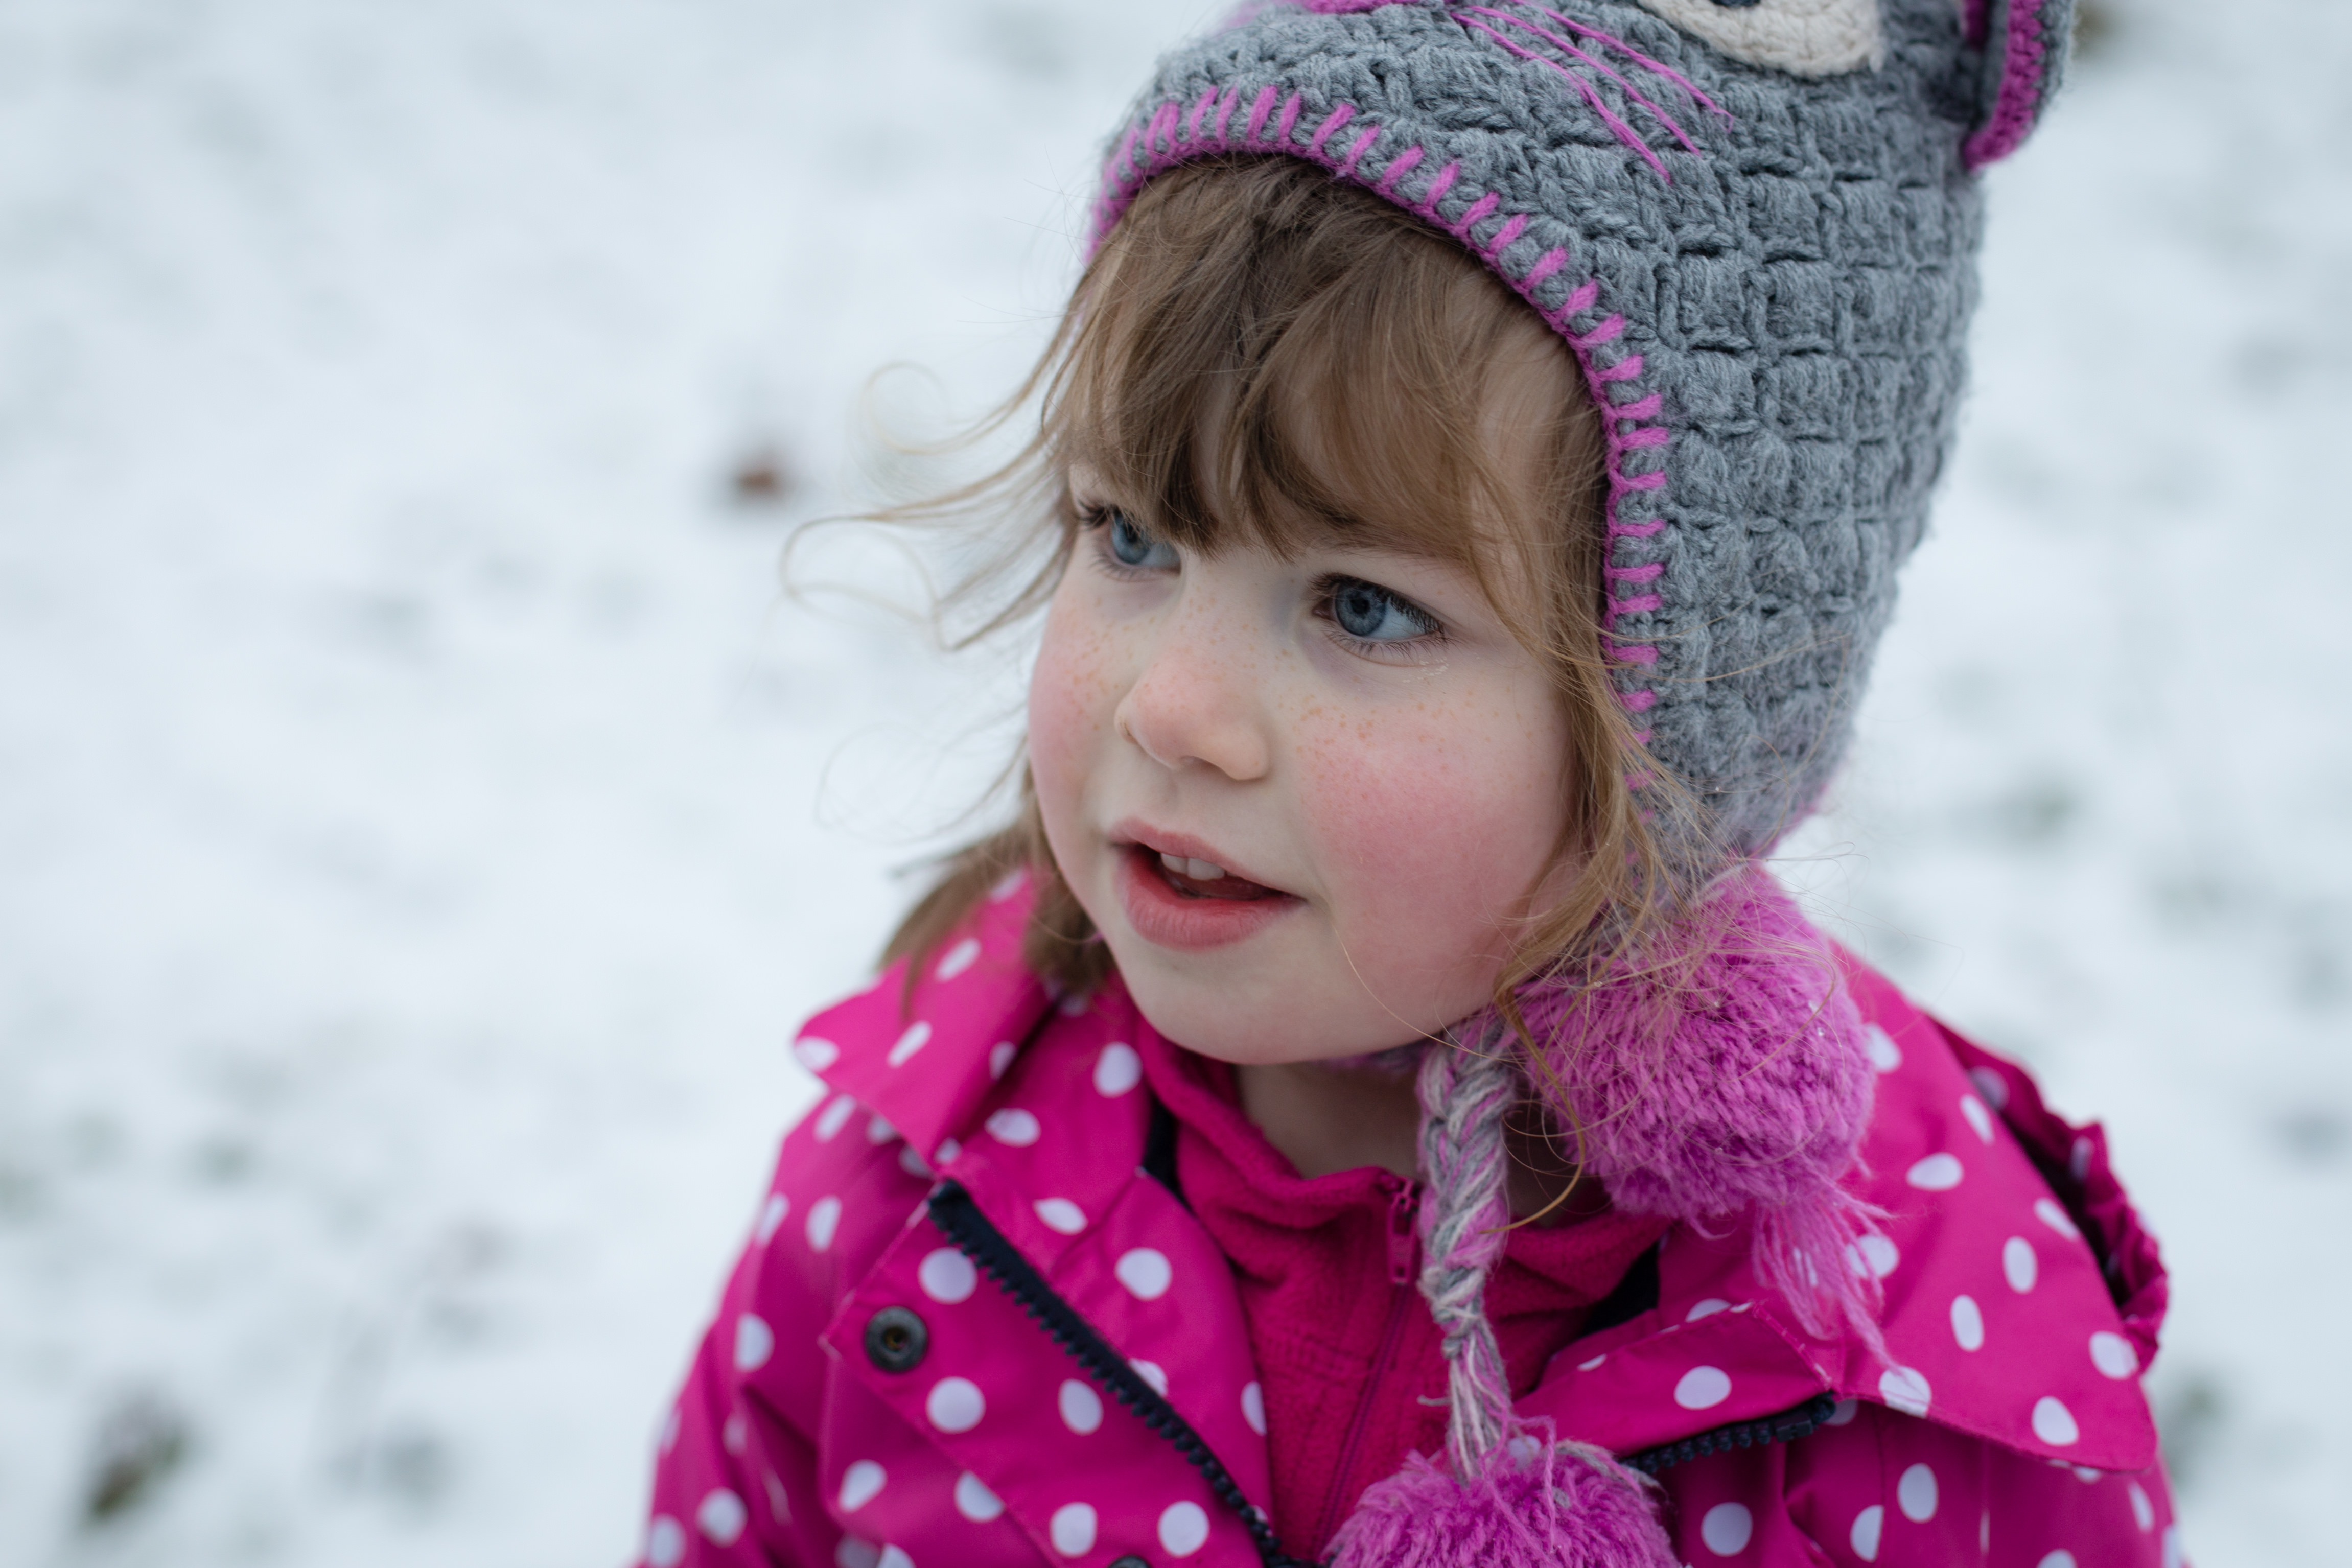
Image above taken on a 50mm f1.4 prime lens (at f3.2)
What time of day is it best to take photos in the snow?
The light changes throughout the day and even in winter, the light is better for taking photos in the morning and evening, rather than the middle of the day. In the morning and evening, the light is softer and the angle lower, making scenes look prettier, especially when there is a covering of snow on the ground. In the middle of the day when the sun is high, the light is flatter and less interesting. So get out as early as you can and avoid around 12-2pm ideally.
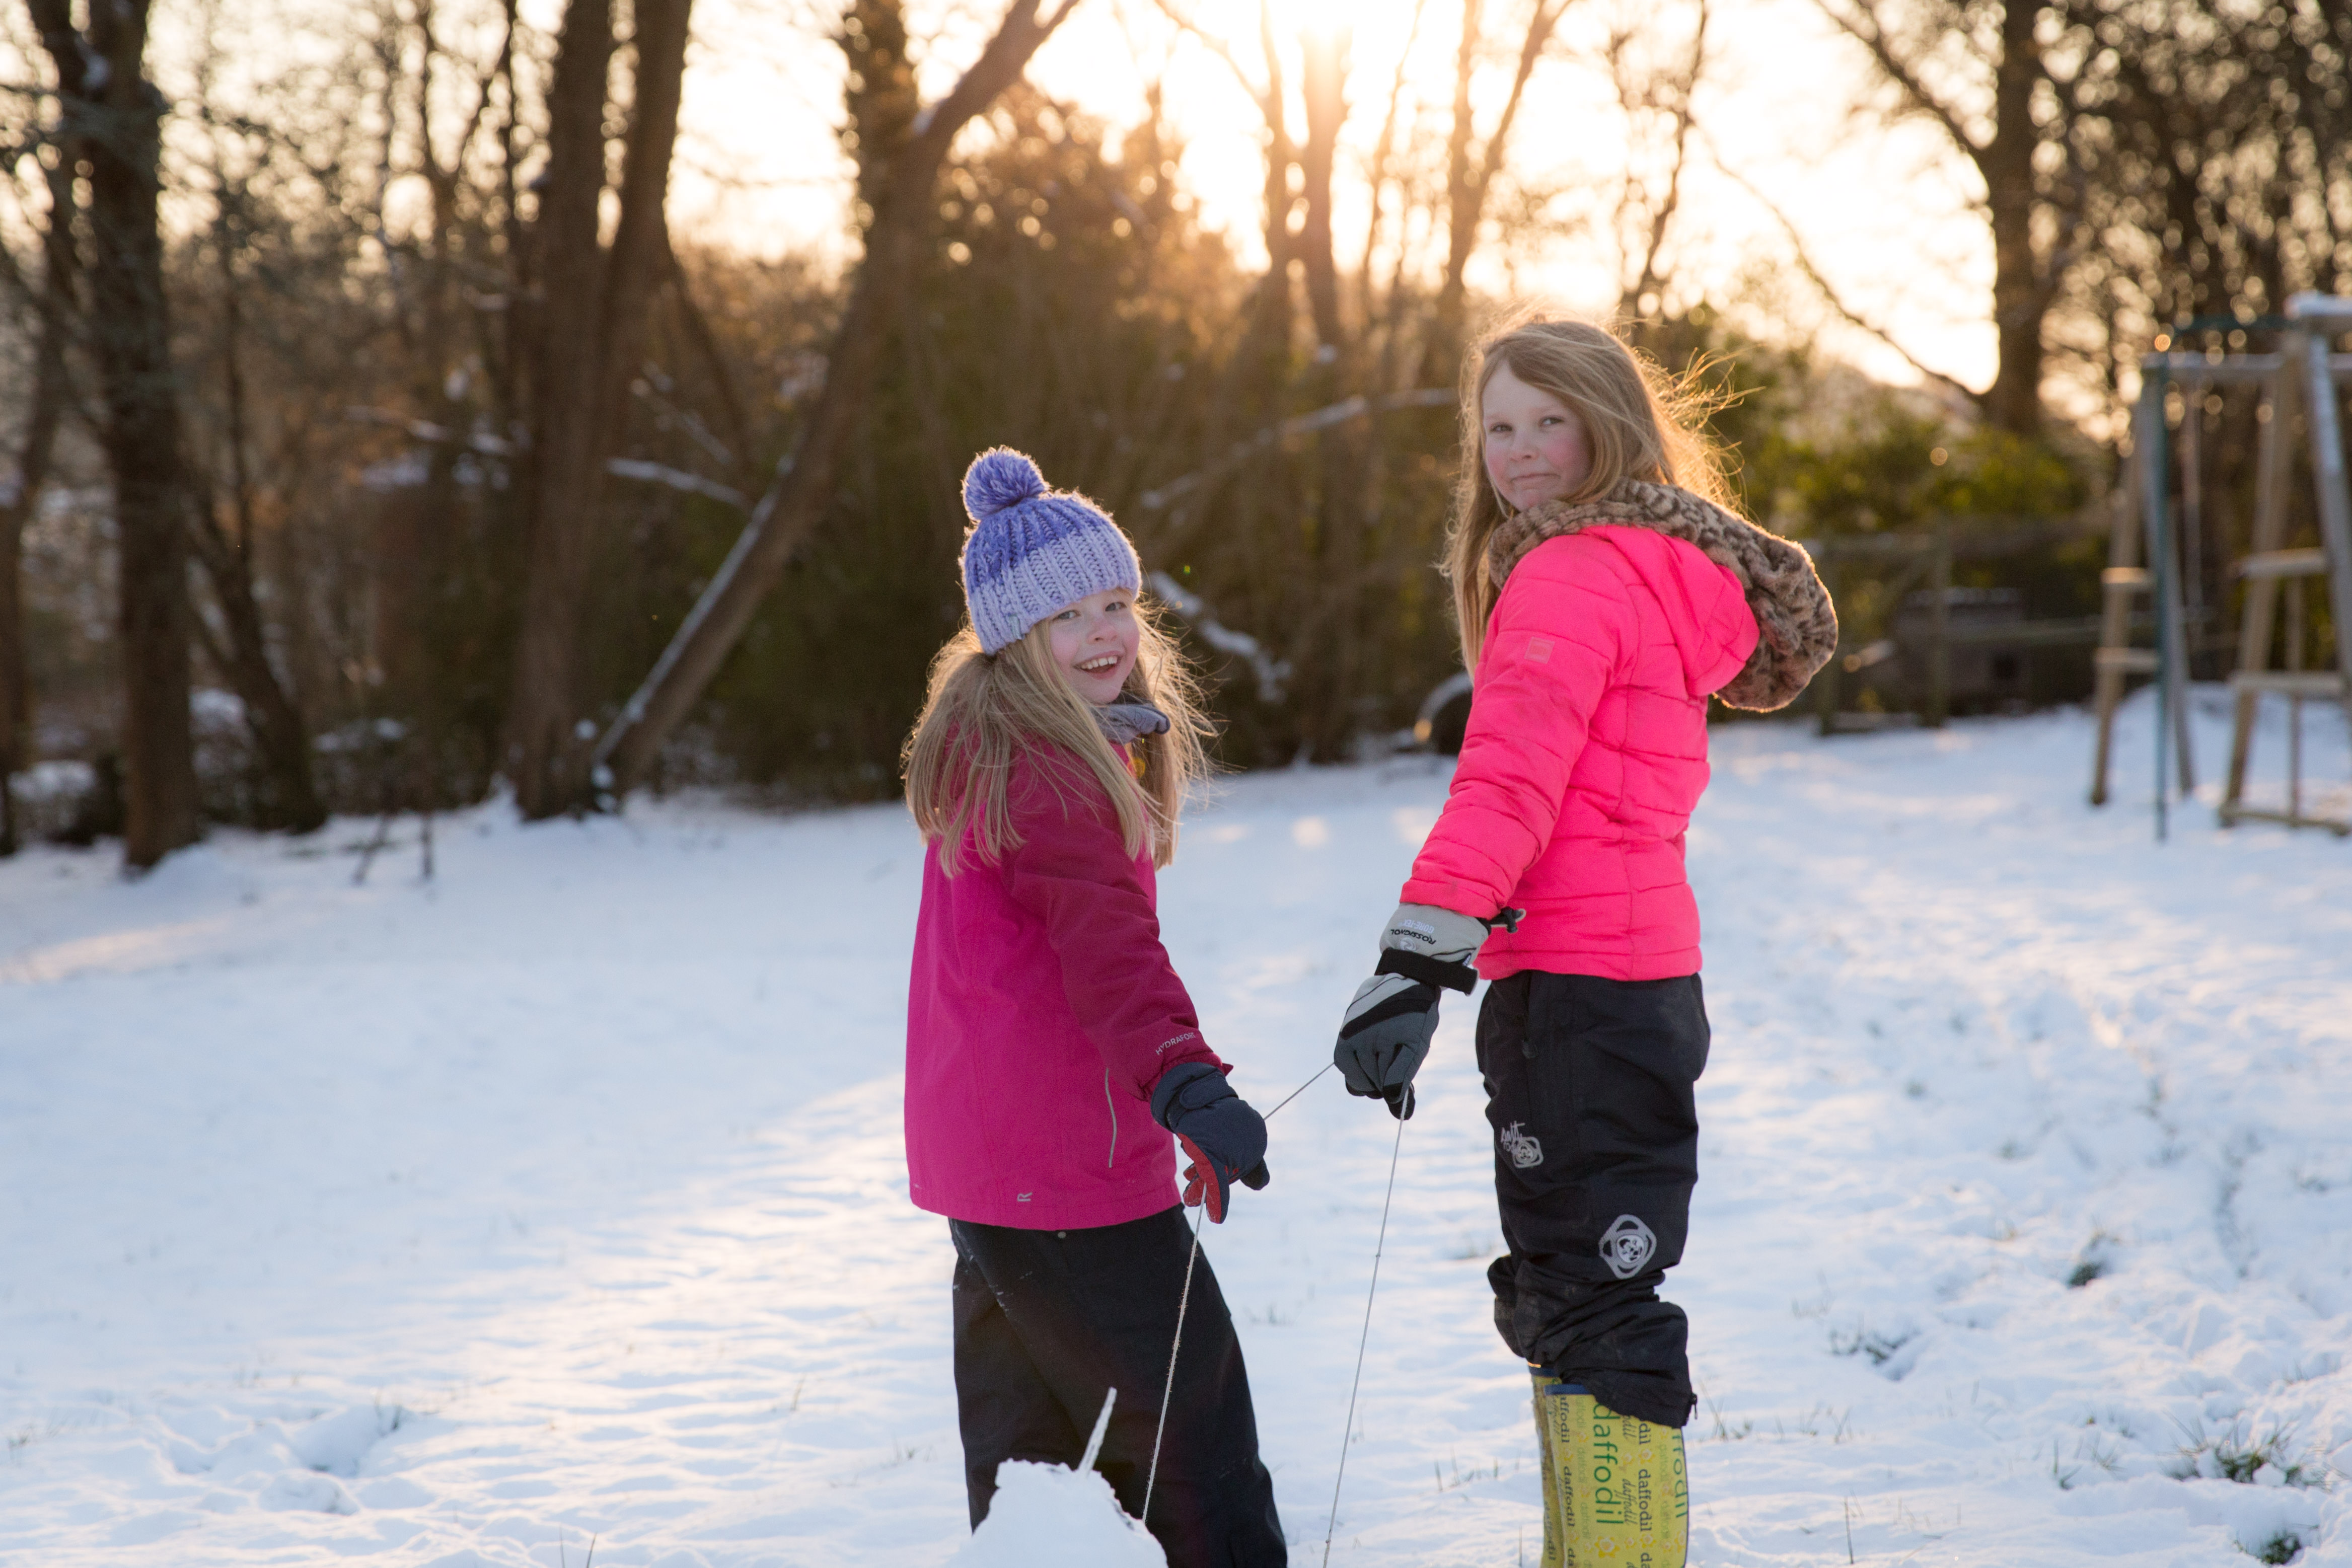
On snowy days you might have sunshine or it could be quite overcast. If the sun is out then all the better, as this will give warmth to your images and can even be used quite creatively. You can either shoot with the sun behind you (which works well if the sun is very low, late in the day, as you can use the sunlight to light your children’s faces). Alternatively, you can try shooting into the sun (with the sun behind your subject) which can give a lovely glow behind your children’s heads. If the sun is low behind the subject then this can look really dramatic (see images below).
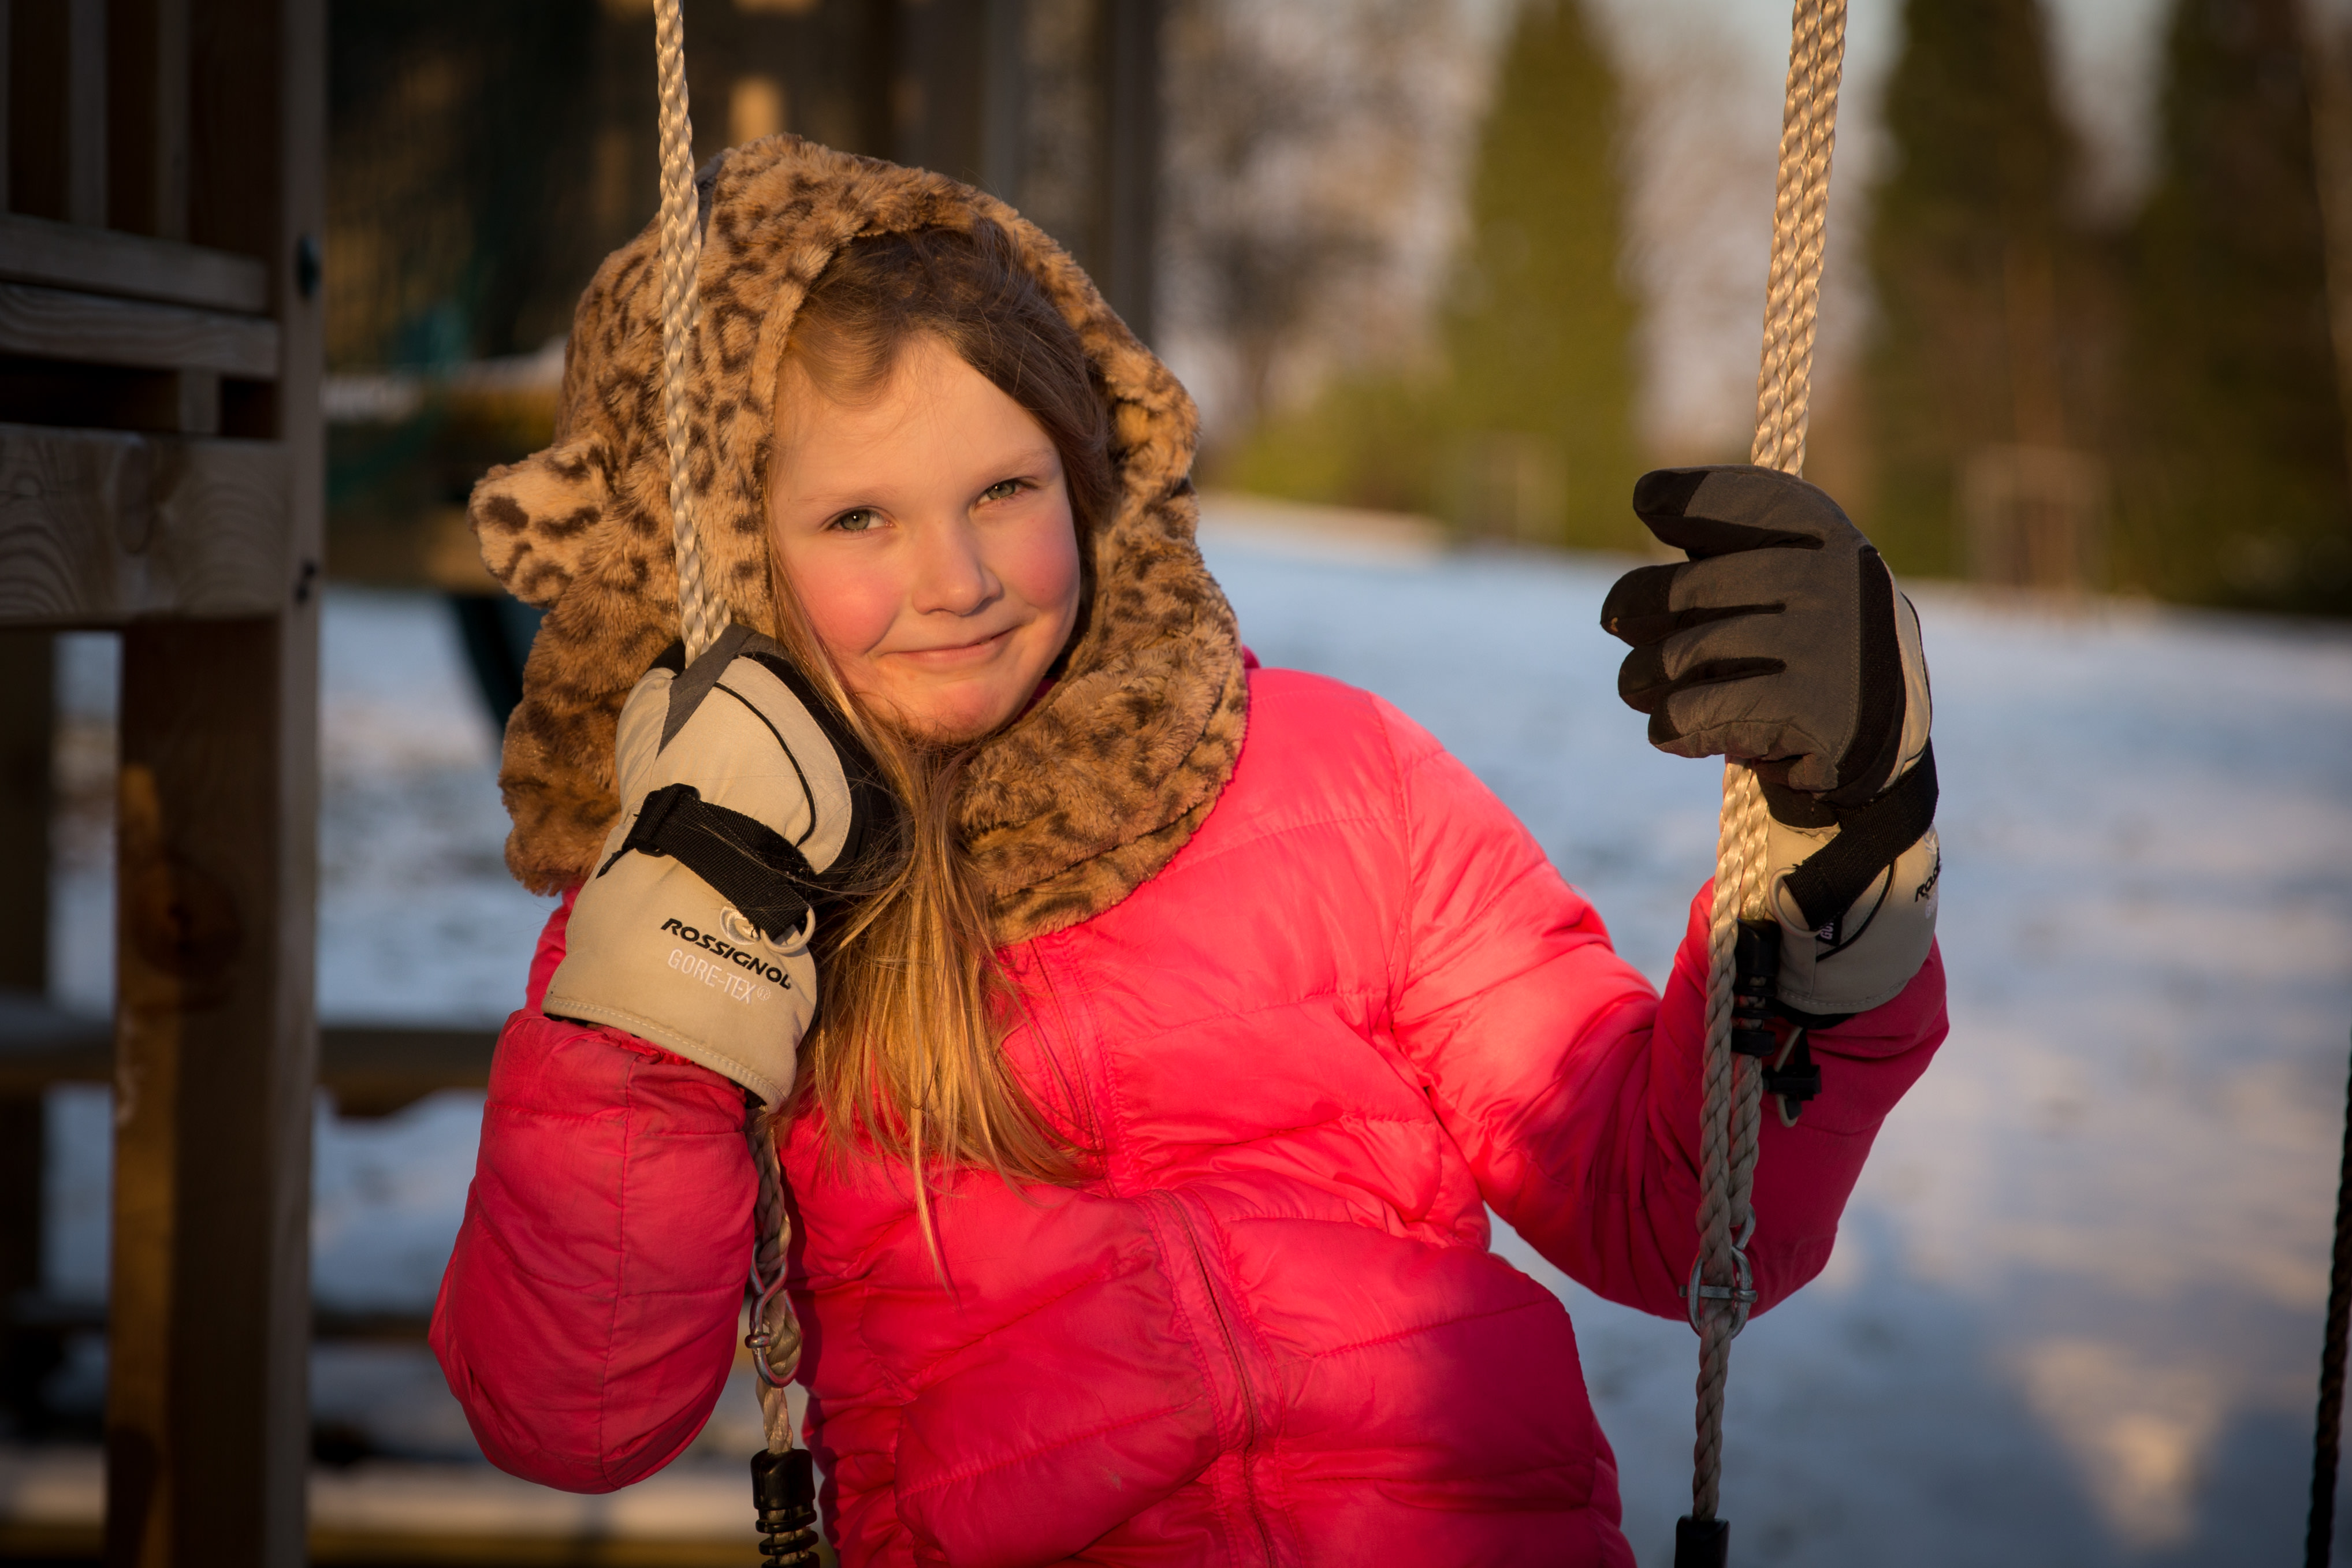
Image above taken in full sun (sun behind me) just before sunset
Image above taken shooting towards the sun (again it was nearly sunset)
On cloudy days, try and work out where the sun is coming from (you can hold up your hand to try and work out the direction of the sun), then try and make sure you use that light and get your children facing it. This little bit of light, even on a cloudy day, will help brighten your subject and you’ll have a better exposure as a result.
How should I set up my camera?
Again if you have a DSLR or other camera with adjustable settings, you can make some simple adjustments to improve your images in camera. As mentioned above, cameras tend to underexpose snowy scenes as they ‘see’ a lot of brightness and try to compensate by giving a darker exposure. You can change this in manual mode but if you don’t want to play around in manual, try using ‘exposure compensation’ and setting your camera’s exposure, say one stop higher than it would otherwise have been. This will give you a slightly brighter (and therefore better quality) image.
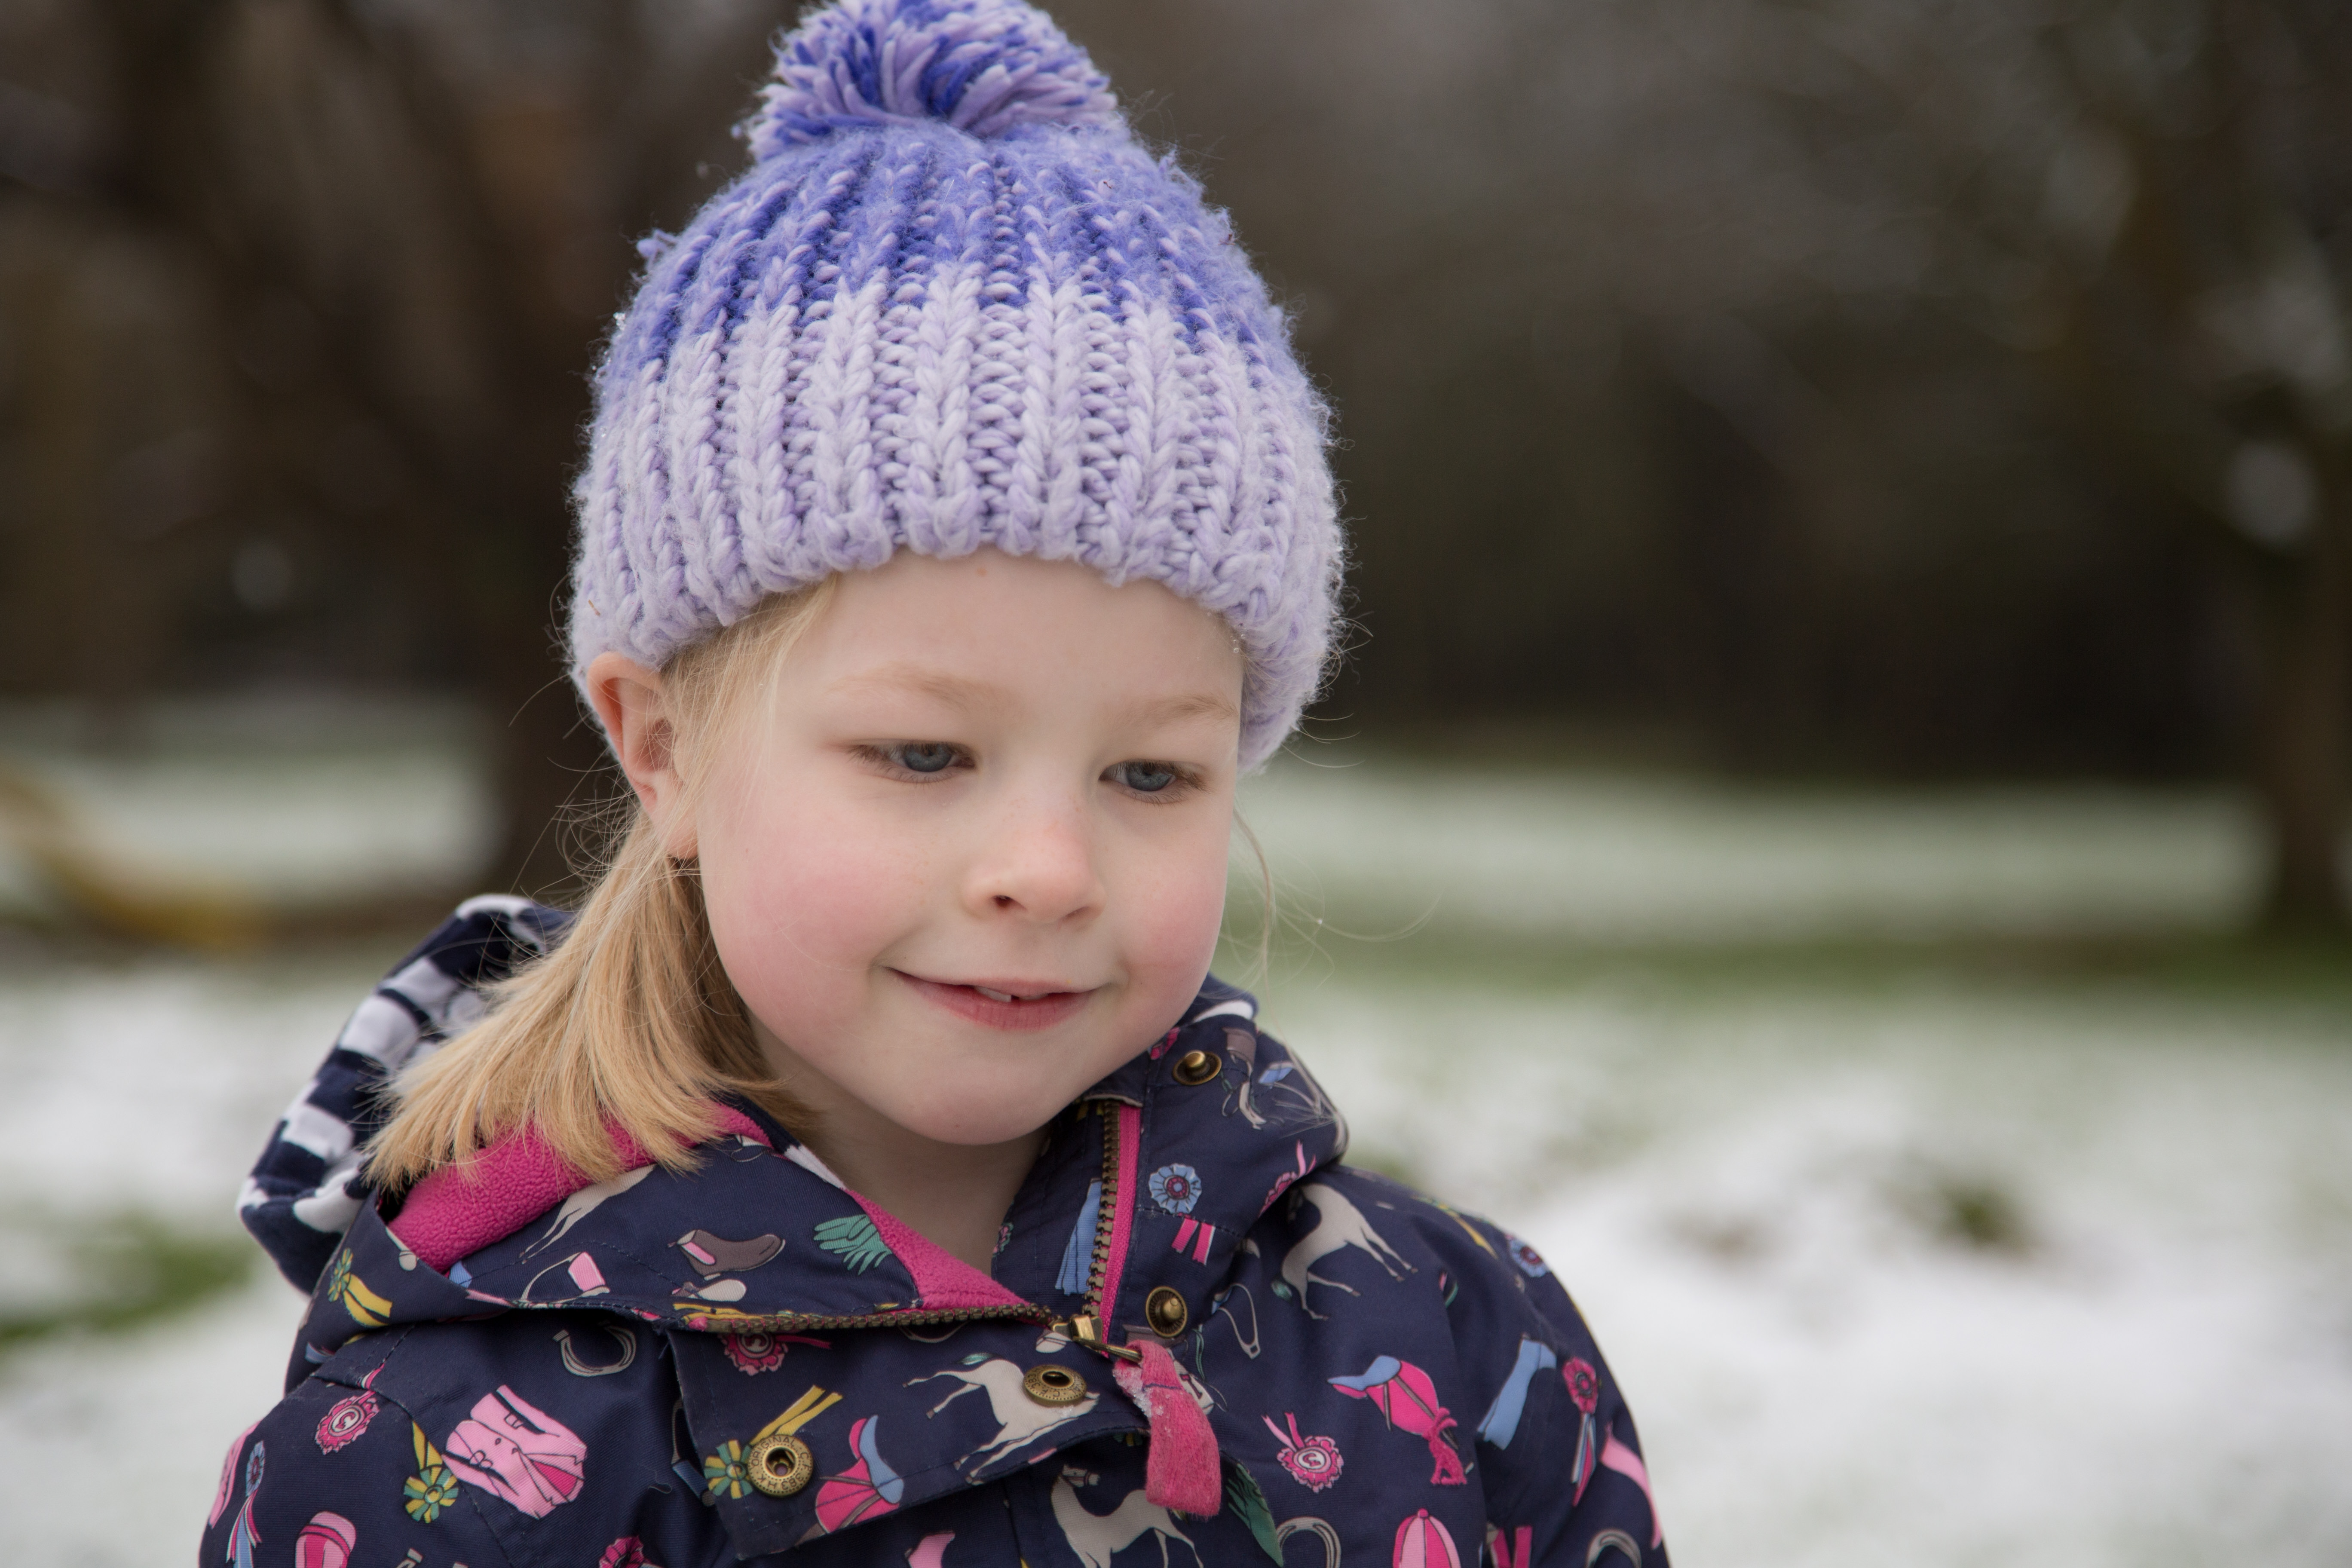
Also because snowy scenes are quite ‘cold’, your images may render a little ‘blue’ so you can compensate for this by changing the camera’s white balance. I often use the ‘shady’ setting which has the effect of warming your images up. You could also try the ‘cloudy’ setting or manually change the white balance in K (to around 6400K).
You may still need to make some adjustments with some basic editing afterwards to get just the image you were after. All of the images shown have been edited (in Lightroom) but I always try to get them as close to what I am after in camera, to save on editing time afterwards.

Both images above taken with white balance set to ‘shade’ to give a warmer image
Suggestions for variety and composition
So you have your camera all set up and your children are wrapped in layers from head to toe, and you are ready to head out. But what kinds of images should you be trying to take? I always try to take a wide variety of images, including close-ups and distance shots. It’s amazing what you get if you try lots of different things. Here are a few suggestions:
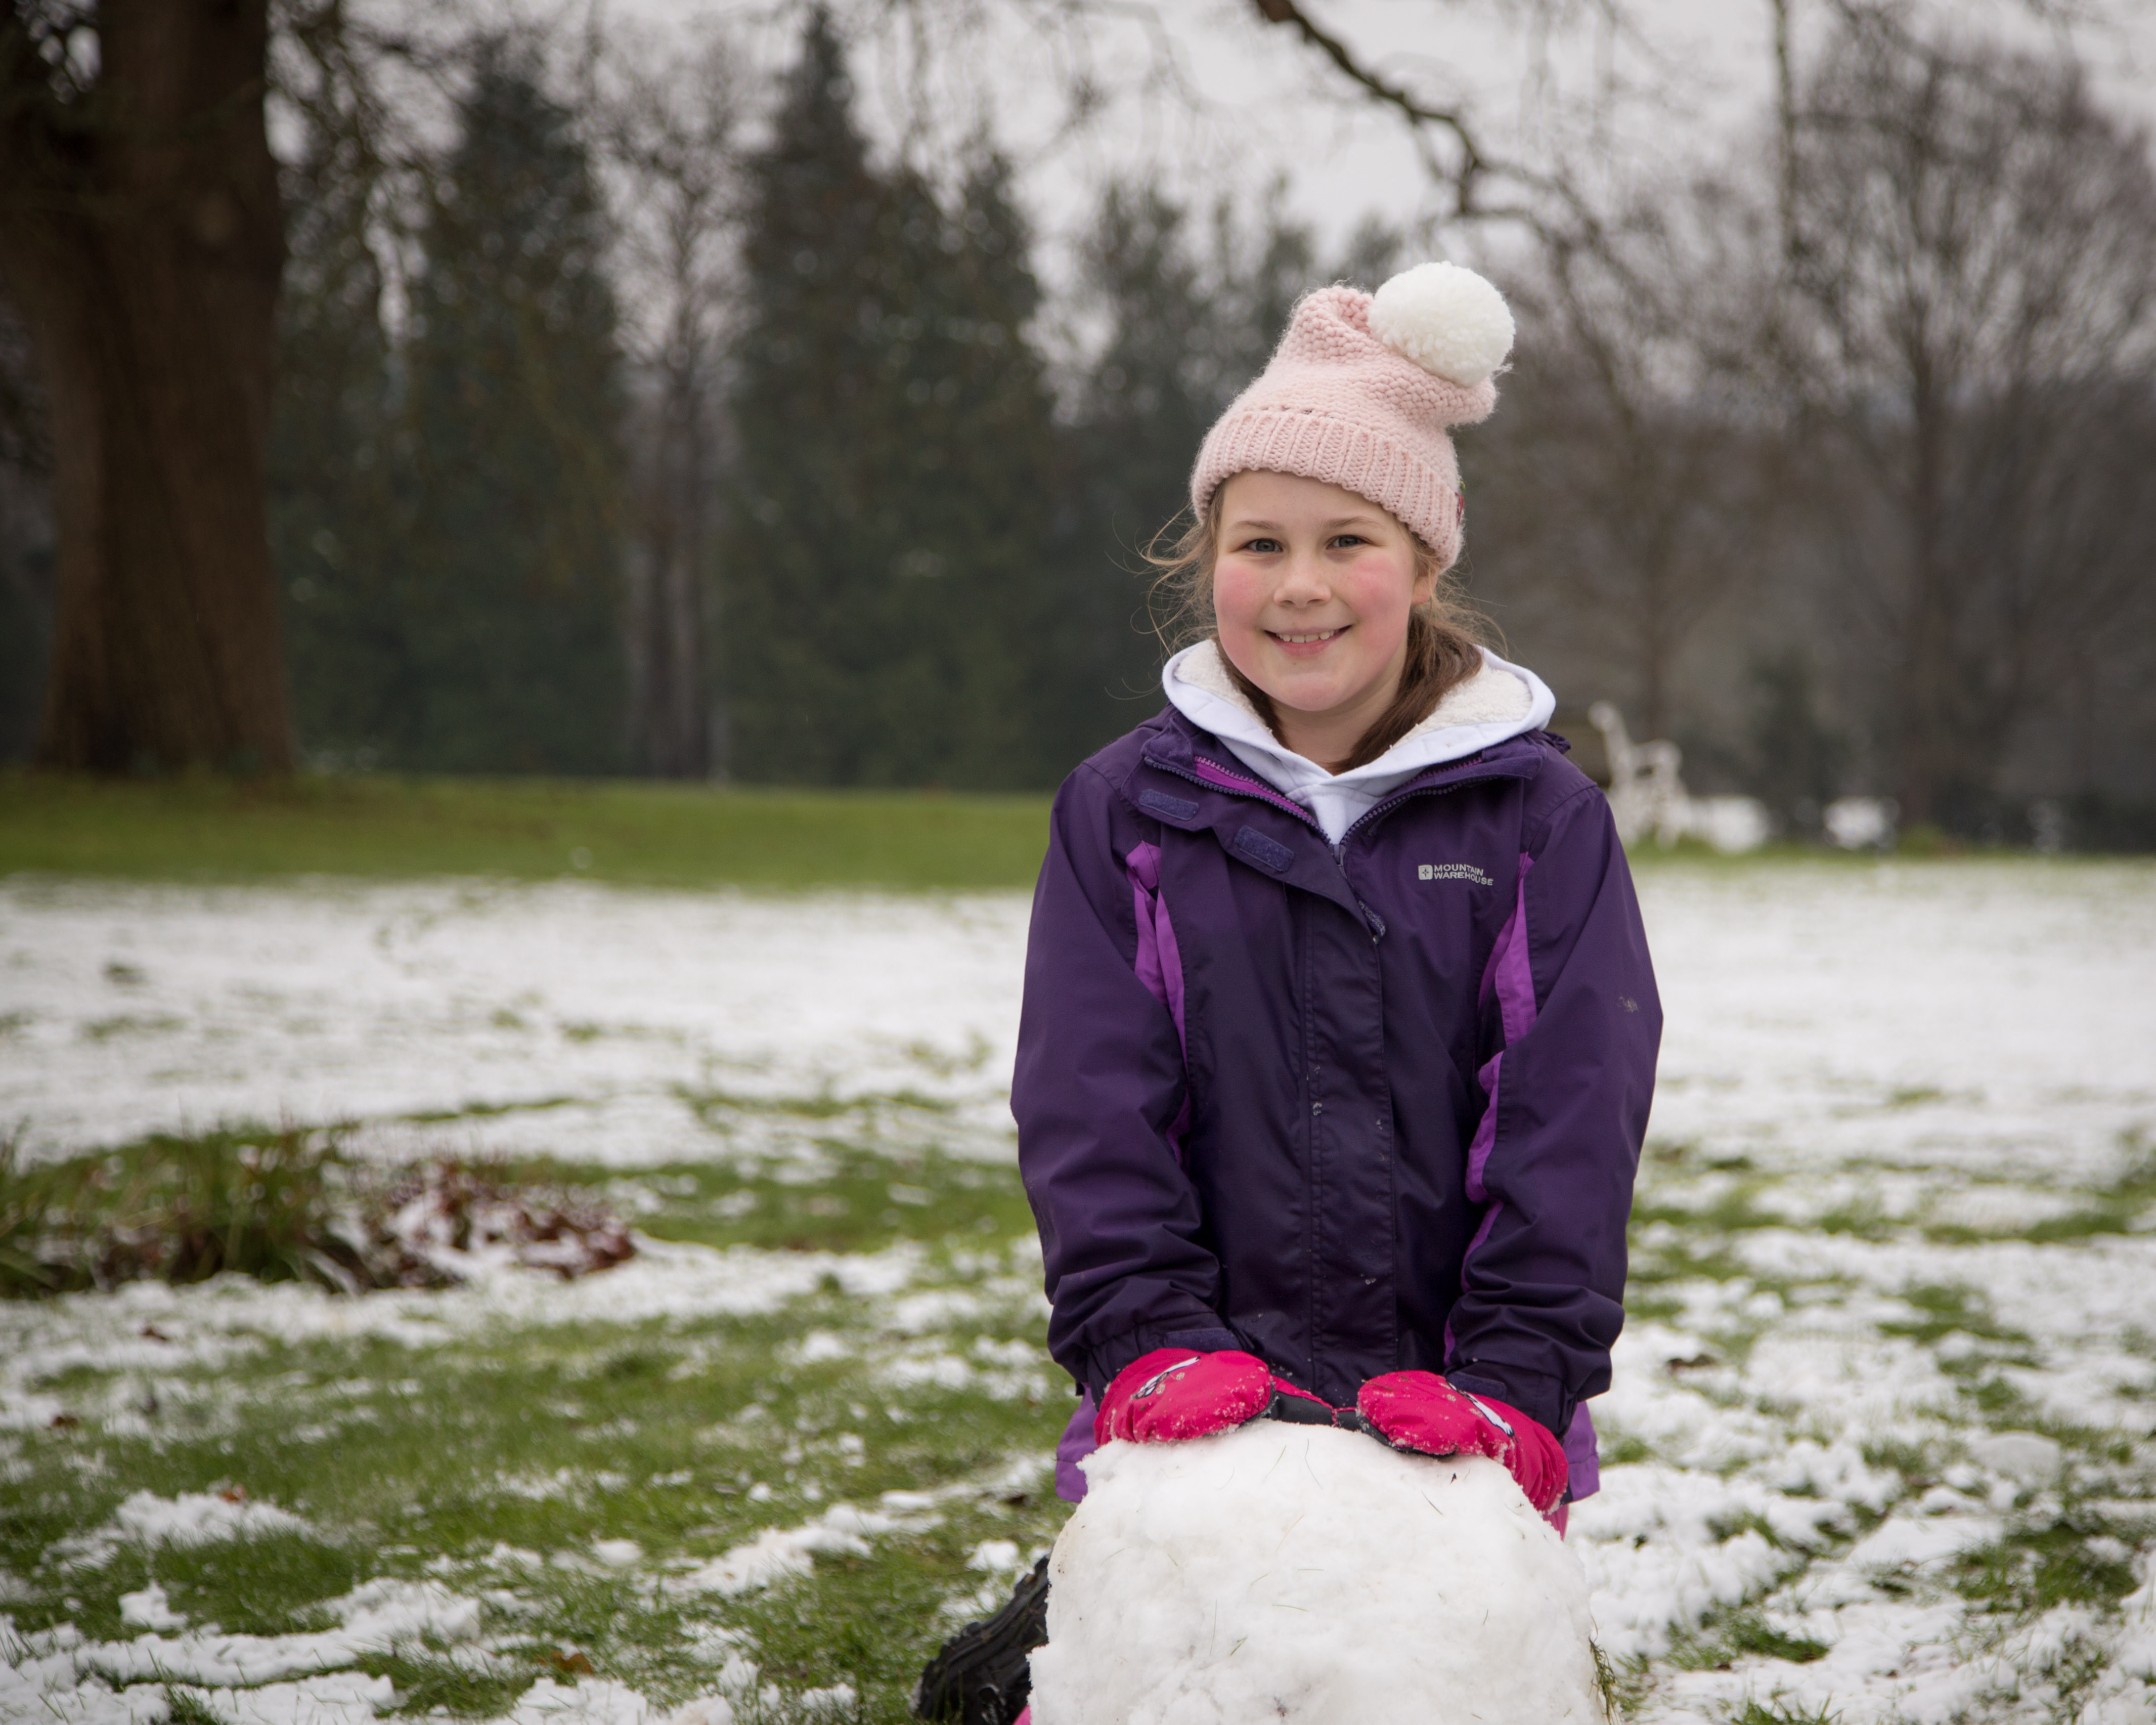
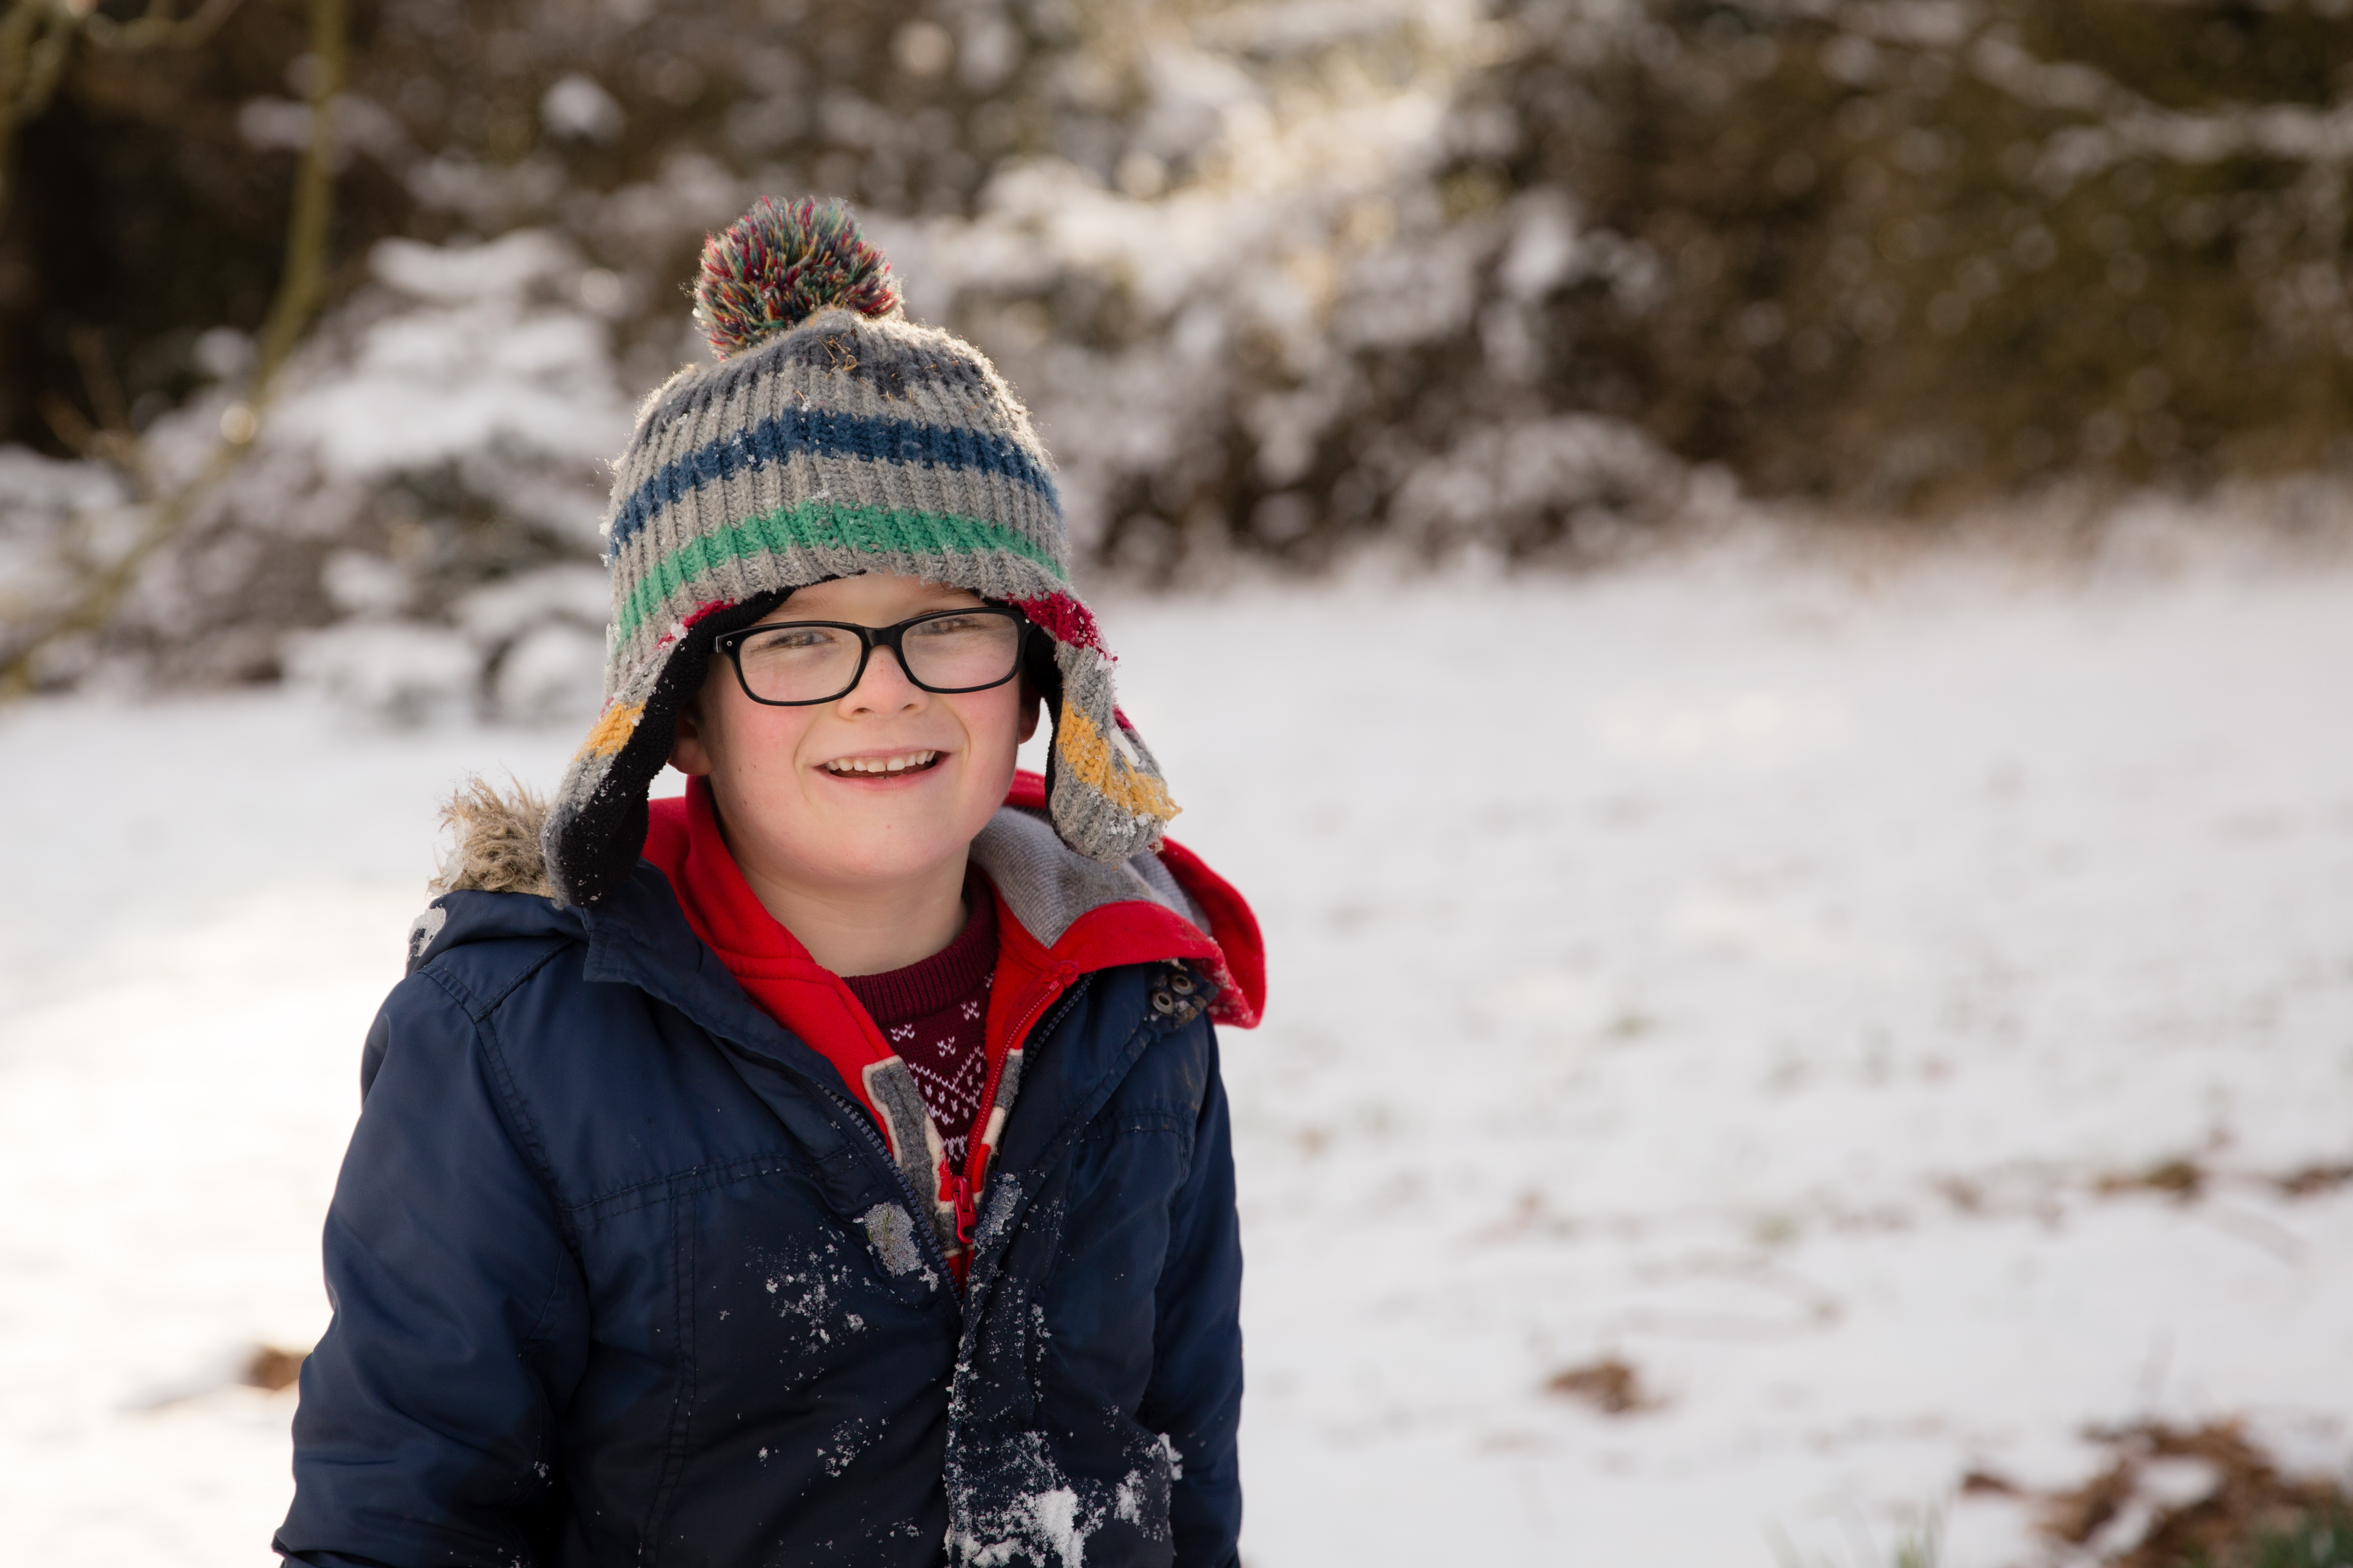
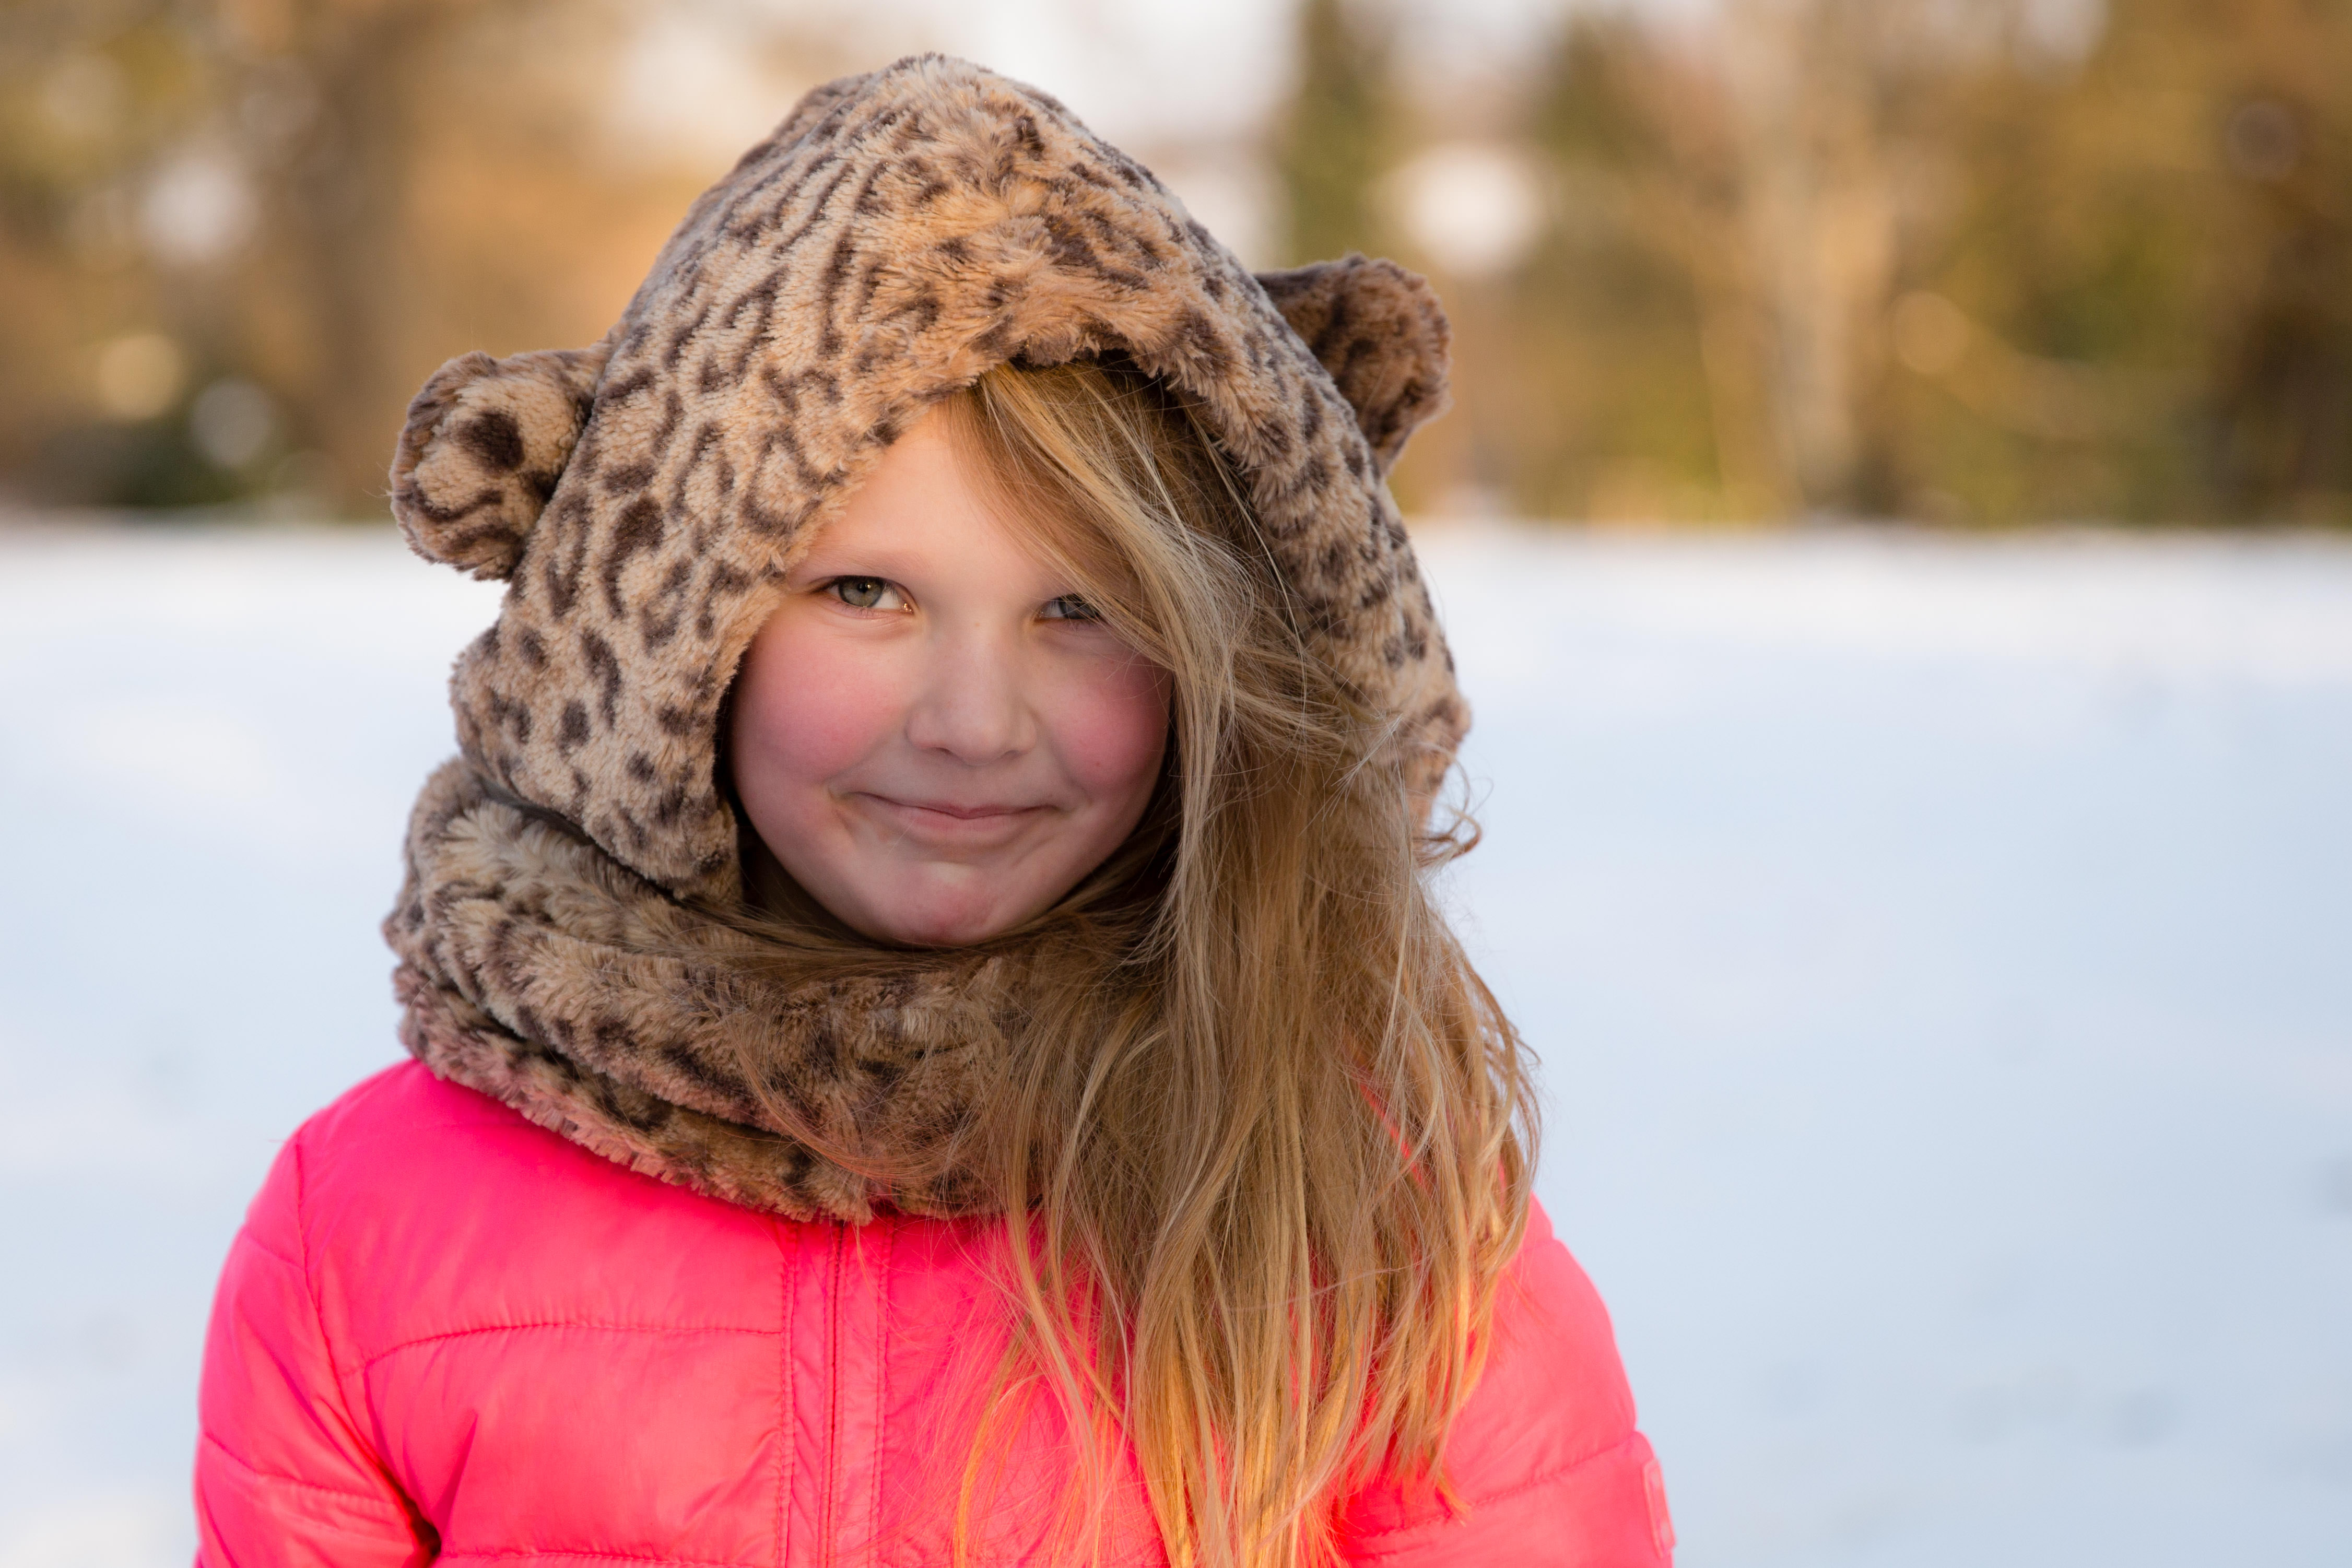
1. Take some lovely individual close ups of each of your children. Snowy backgrounds make for some really beautiful portraits. If you know how to adjust your settings then go for a really wide aperture (low f stop) to make your subject stand out from the background.
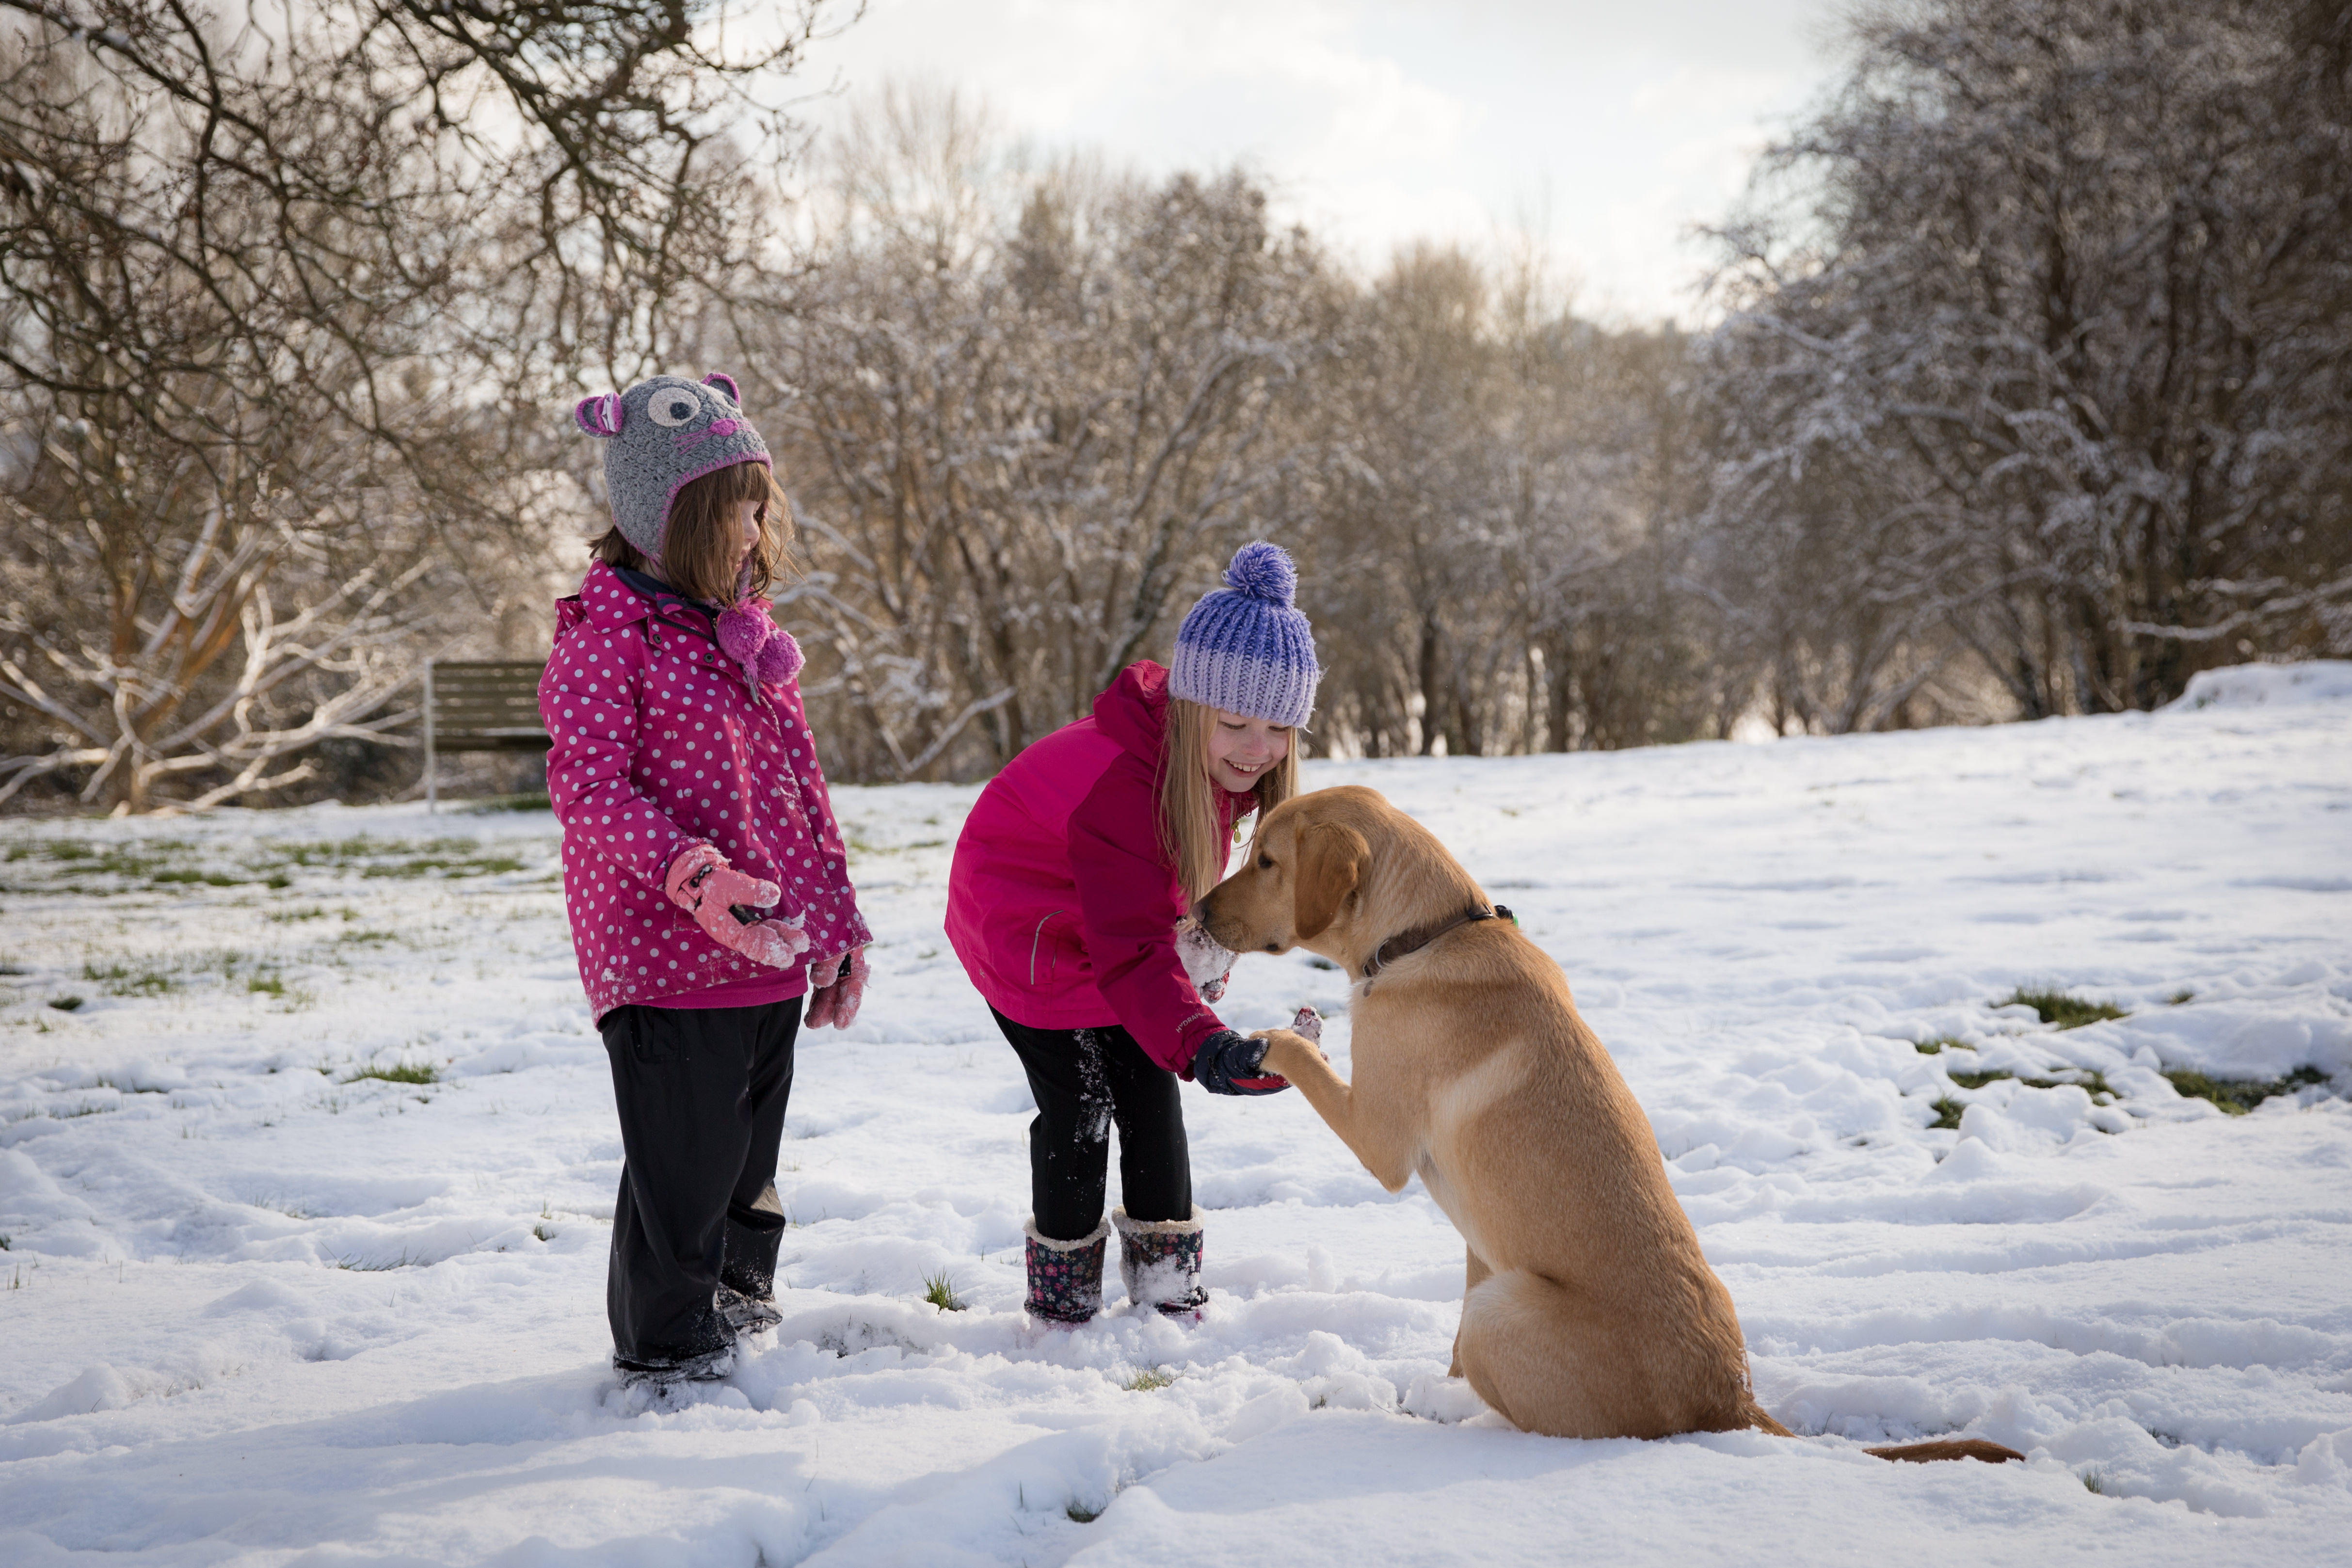
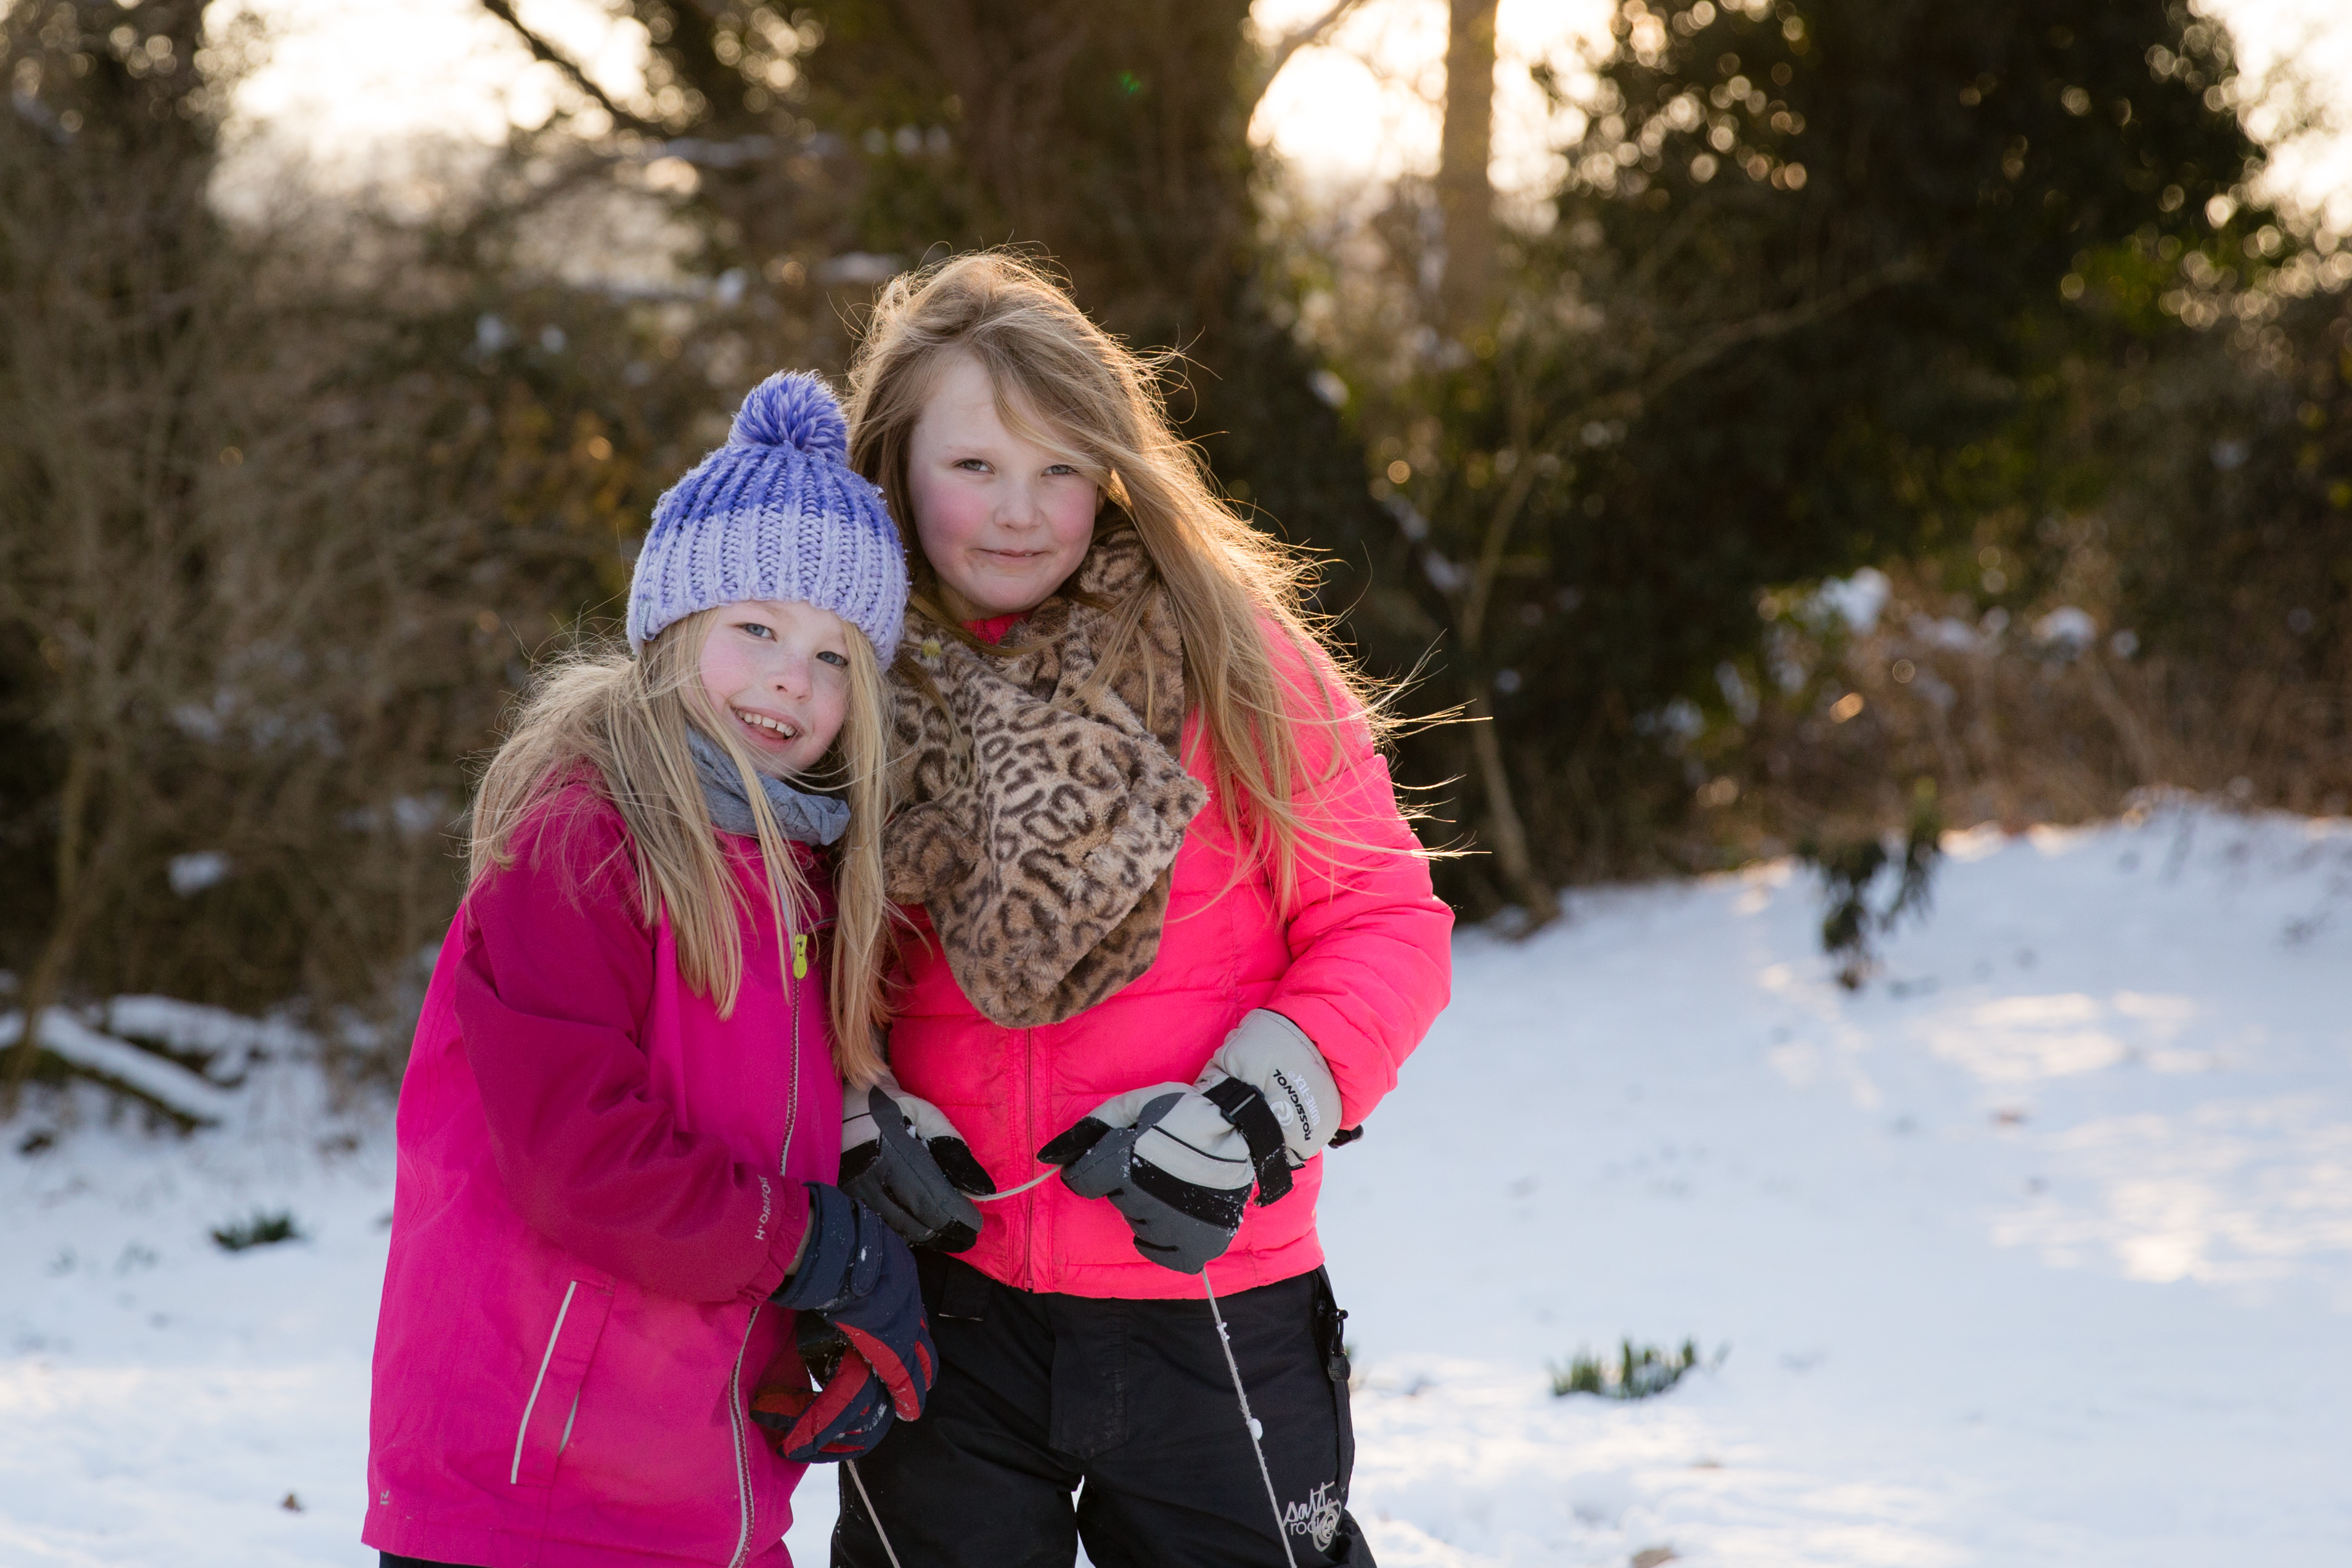
2. Take a few group shots as well – it’s lovely to get a group of children together when they are having fun in the snow. Get them to huddle up close, as this creates a better composition.
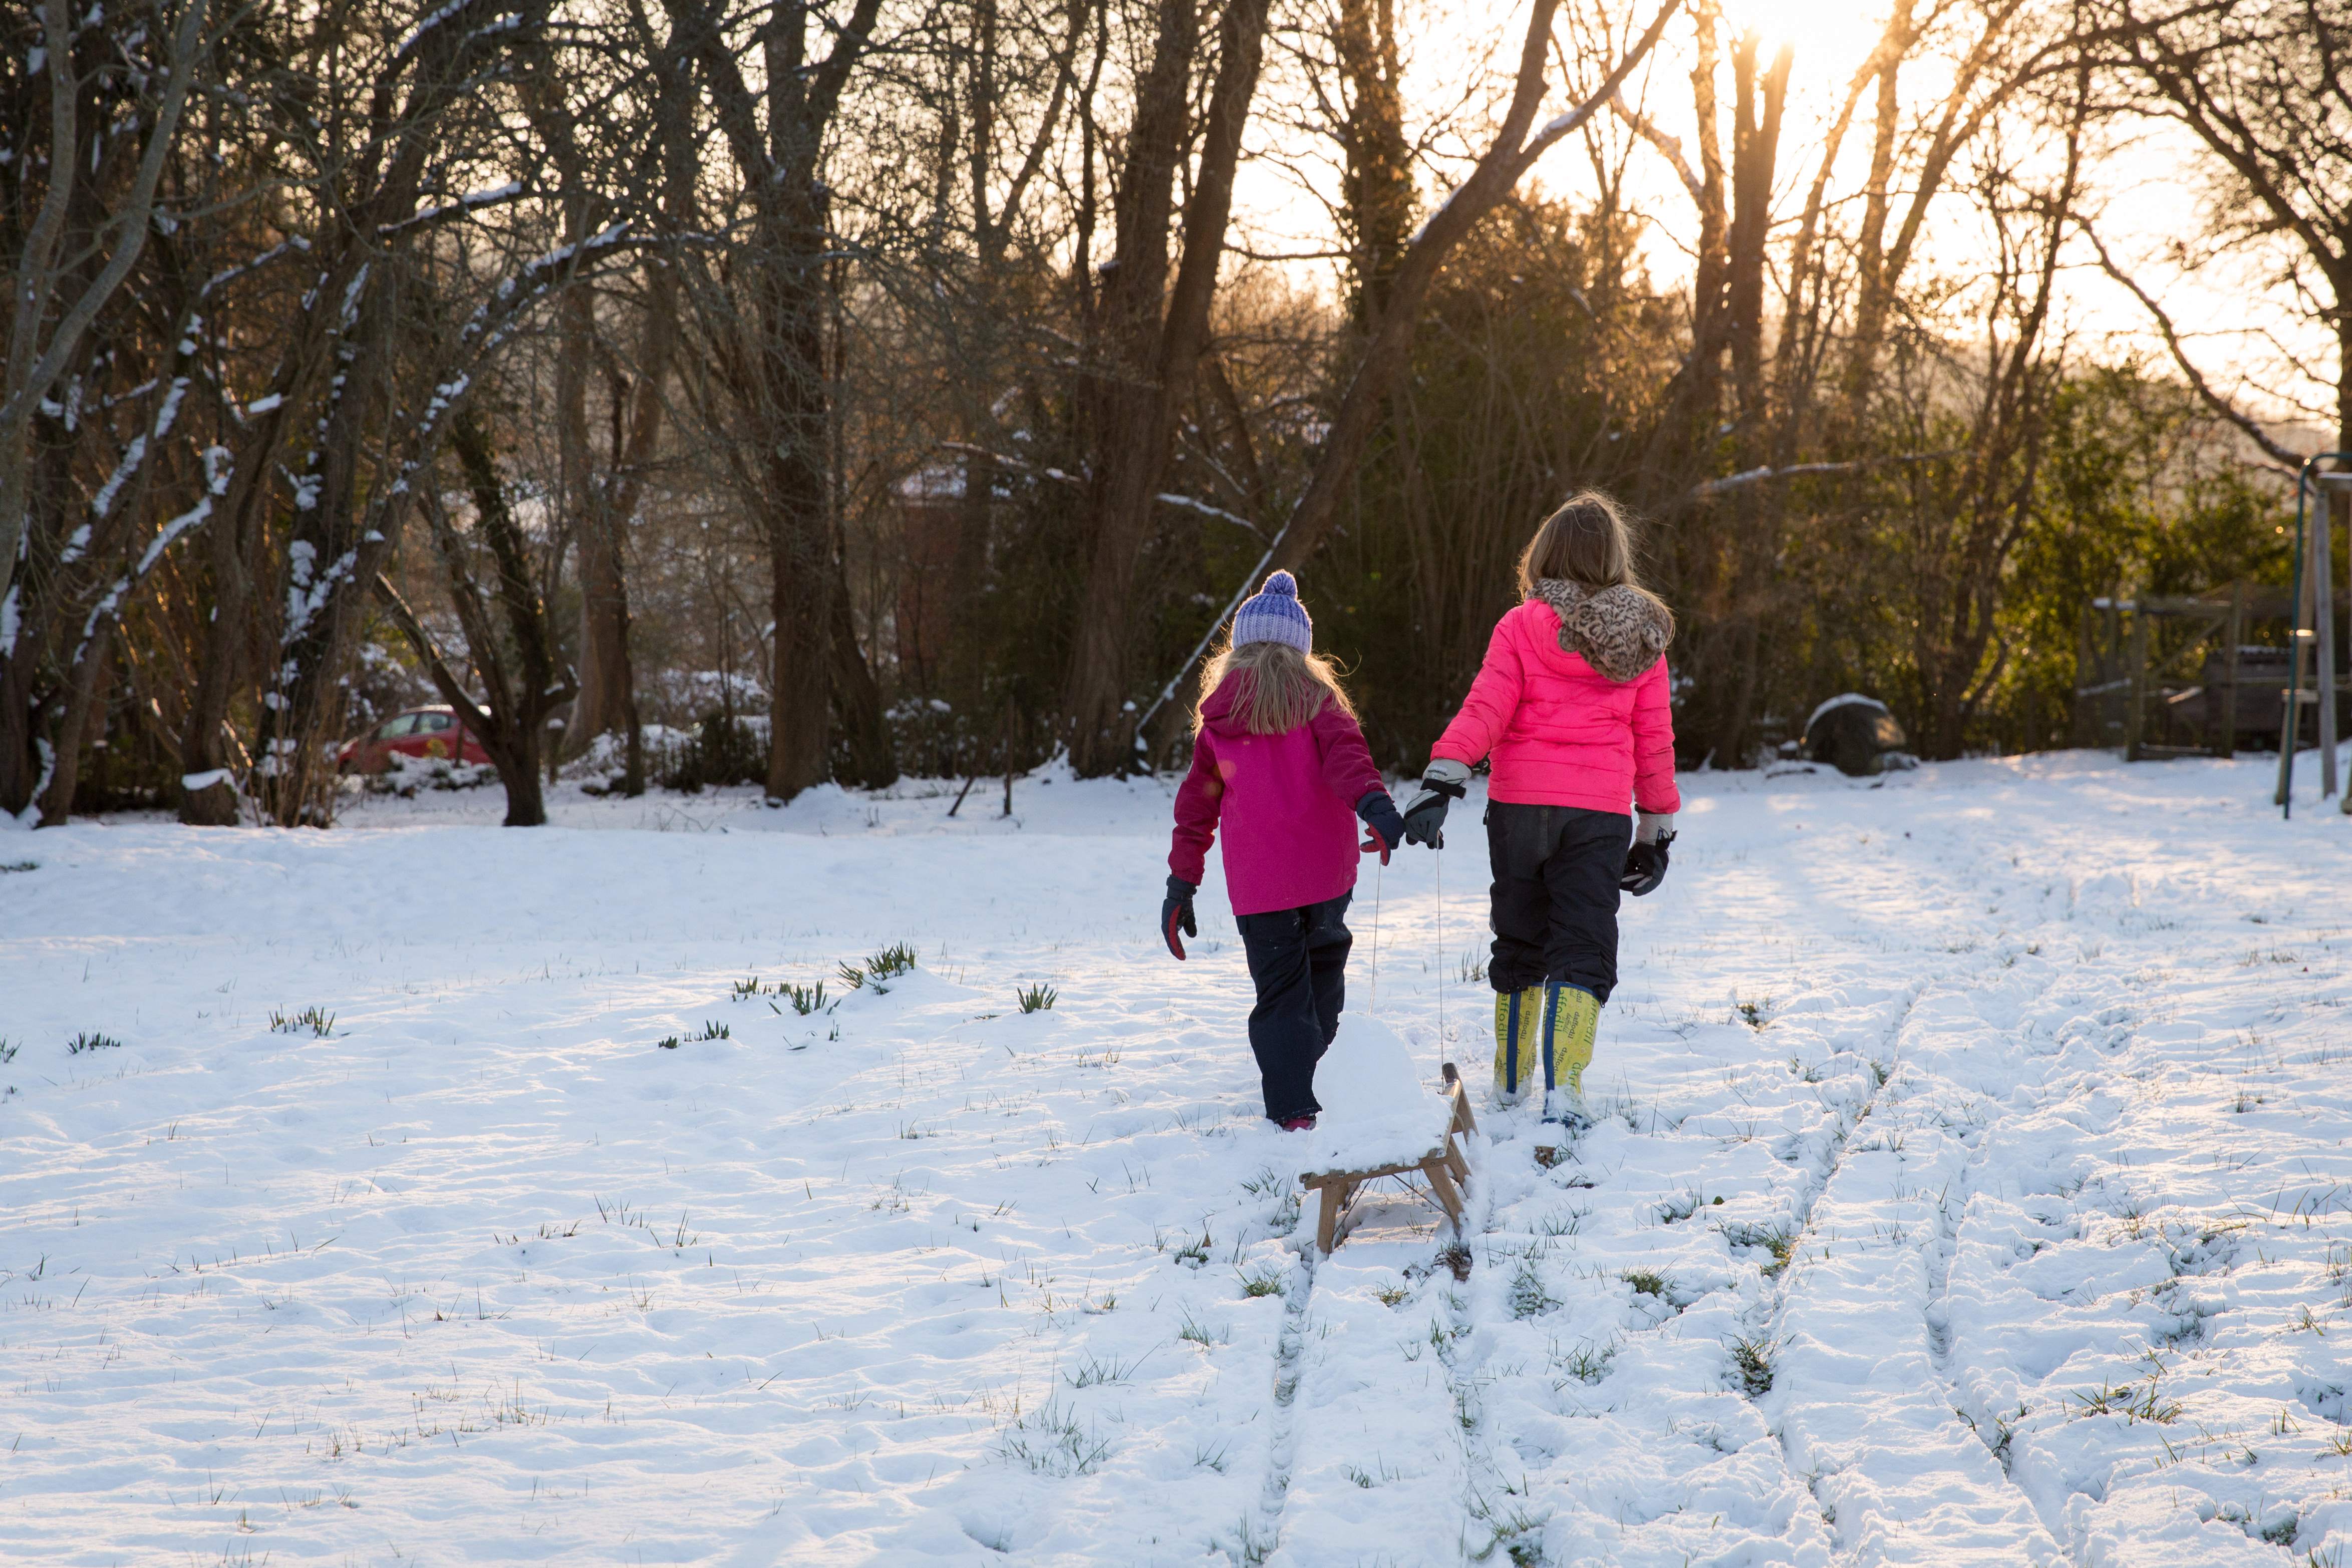
3. Stand back and take some photos from a distance so that you get the whole snowy scene together with your children having fun.
4. Try and get some action shots – sledging, running, throwing snowballs, whatever. It’s great to get some movement. You’ll need a fast shutter speed or put your camera into ‘sports mode’ if that setting is available. Shots of your children running towards you or walking away always make lovely images as well.
Save, share and print!
Finally, don’t forget to save your images and make sure they are backed up, even if you are just using your phone. Always try and print some too as that is one form of technology that won’t fail. If your hard drive fails or memory stick gets lost, you will always have your prints as memories.
I hope you manage to get out there with your camera in the next few days and take some fantastic images. Do share them too, I can’t wait to see some of them!
Thank you!
Finally I’d like to say a HUGE thank you to my friends and neighbours whose children I have been borrowing to photograph ever since the first snow fell. Thank you for letting me share the images in this post 🙂